
It takes more than just expanding your Netflix binge sessions to turn your living room into a home theater. It's about improving every aspect of your pleasure, from tense sporting events and immersive gaming to weekend movie marathons. But how can you create a living room projector setup that is not only useful but also breathtaking?
Thankfully, modern projectors are incredibly versatile, offering a range of features that can transform your everyday living space into an entertainment hub. In this blog, we'll guide you through essential tips and innovative ideas for setting up your projector in the living room. Plus, we've hand-picked some of the top projectors on the market to ensure your viewing experience is nothing short of spectacular. Dive in and let's elevate your entertainment setup to new heights!

Living Room Projector Setup Ideas
You've made the decision to explore the world of projectors. But where do you even begin? Although the choices may seem endless, fear not. We'll go into a variety of suggestions in this section to help you create the ideal living room projector setup for you.
Choose a 4K Projector for Crisp Visuals
When it comes to living room projector setup, quality should be your top priority. A 4K projector offers four times the resolution of a standard HD projector, delivering crisp and detailed visuals. Whether you're watching a movie or playing a game, the difference is noticeable.
The higher pixel count means better clarity and a more immersive experience. While 4K projectors are generally more expensive, consider it a long-term investment for your home entertainment.
- Resolution: Opt for a minimum of 3840 x 2160 pixels.
- Brightness: At least 2,500 lumens for well-lit rooms.
- HDR Support: High Dynamic Range enhances color and contrast.
Opt for Short-Throw for Small Spaces
If you're dealing with a small living room, a short-throw projector is your best bet. These projectors can produce large images from a short distance, making them ideal for confined spaces.
You can place the projector just a few feet away from the screen and still get a large, clear image. This eliminates the need for long cable runs and gives you more flexibility in your living room projector setup.
- Throw Ratio: Look for a throw ratio of 0.4 or less.
- Placement: Ideal for tabletops or low stands.
- Screen Size: Can produce 100-inch images from just 4 feet away.
Install Ambient Light-Rejecting Screen for Daytime Viewing
Daylight can wash out a projector's image, making it less vibrant. An ambient light-rejecting (ALR) screen can solve this problem.
ALR screens are made to reflect the light from the projector while letting in light from the room, providing a clearer and brighter image even in well-lit rooms. This is a must-have for any living room projector setup where daytime viewing is common.
- ALR Rating: Higher ratings offer better light rejection.
- Screen Gain: Opt for a gain between 1.0 and 1.4.
- Viewing Angle: Ensure it suits your living room layout.
Calibrate Color Settings for True-to-Life Images
Out-of-the-box settings rarely offer the best color accuracy. Take the time to calibrate your projector's color settings for a more true-to-life image.
Most modern projectors come with built-in calibration tools, but for more precise adjustments, you might want to invest in a calibration disc. This ensures that the colors you see on screen are as close as possible to the director's or game designer's intent.
- Color Modes: Use modes like 'Cinema' or 'Natural' for better color accuracy.
- Calibration Tools: Built-in software or external calibration discs.
- White Balance: Adjust for a neutral gray.
Use Ceiling Mount for Unobstructed View
Ceiling mounting is a popular choice for a projector living room setup, especially when floor space is at a premium. By installing the projector on the ceiling, you eliminate the risk of obstructions between the projector and the screen. This ensures a clear, unobstructed view for everyone in the room.
Additionally, ceiling mounts often come with adjustable arms, allowing you to fine-tune the projector's position for optimal image quality.
- Mount Type: Choose a mount compatible with your projector model.
- Adjustability: Look for tilt and swivel features.
- Cable Management: Built-in channels keep cables out of sight.
- Installation: Professional installation recommended for safety.
Integrate Wireless HDMI for Clutter-Free Setup
Wires can be a real eyesore in any living room projector setup. Wireless HDMI can help you achieve a cleaner, more organized look. This technology transmits high-definition audio and video signals without the need for HDMI cables.
It's a great solution for small living room projector ideas where minimizing clutter is crucial. Just plug the transmitter into your source device and the receiver into your projector, and you're good to go.
- Range: Ensure it covers the distance between your devices.
- Latency: Low latency is crucial for gaming and real-time video.
- Compatibility: Check that it supports your projector and source devices.
- Setup: Usually plug-and-play, minimal configuration needed.
Invest in Dolby Atmos Soundbar for Immersive Audio
While visuals are key in a projector living room setup, audio shouldn't be overlooked. A Dolby Atmos soundbar can elevate your audio experience to match the visual grandeur. Dolby Atmos creates a three-dimensional sound field, making you feel like you're inside the movie or game.
For the best living room projector experience, investing in high-quality audio is a must.
- Channels: Opt for a soundbar with at least a 5.1.2 configuration.
- Connectivity: Ensure it has HDMI ARC for easy integration.
- Placement: Below the screen or wall-mounted.
- Calibration: Some models offer auto-calibration for optimal sound.
Place Projector at Eye Level for Optimal Viewing Angle
The angle at which you view the screen can significantly impact your enjoyment. For the best projectors for living room setups, placing the projector at eye level when seated is generally recommended. This provides the most natural and comfortable viewing angle, reducing eye and neck strain.
Some projectors come with lens shift features, allowing you to adjust the image vertically or horizontally without moving the projector.
- Lens Shift: Vertical and horizontal adjustments.
- Keystone Correction: For minor angle adjustments.
- Stand or Shelf: Consider placement options that align with eye level.
- Distance: Ensure it aligns with the projector's throw ratio.
Opt for Smart Projector for Built-In Streaming
In today's connected world, a smart projector is a worthy addition to your living room with projector ideas. These projectors come with built-in streaming apps like Netflix, Hulu, and YouTube, eliminating the need for external streaming devices.
They also support Wi-Fi and Bluetooth connectivity, making it easier to stream content directly from your smartphone or tablet. A smart projector simplifies your setup and offers a more integrated entertainment experience.
- Built-In Apps: Look for popular streaming services.
- Wi-Fi & Bluetooth: For easy content sharing.
- OS: Android or proprietary, depending on your preference.
- Remote App: Control the projector via your smartphone.
Use Backlighting to Reduce Eye Strain
When considering projector in living room ideas, don't overlook the comfort of your eyes. Backlighting isn't just an aesthetic choice; it can also reduce eye strain during extended viewing sessions.
By providing a soft light behind the screen, backlighting helps to maintain a balanced contrast between the screen and the surrounding area, making it easier on the eyes.
- LED Strips: Easy to install and energy-efficient.
- Color Options: Choose a neutral color for less distraction.
- Brightness Control: Adjustable to suit different viewing conditions.
Select a Projector with Low Input Lag for Gaming
Input lag refers to the delay between pressing a button on your controller and seeing the corresponding action on screen. For gamers, low input lag is a critical factor in choosing the best projectors for living room setups.
A projector with low input lag (below 30ms) ensures a more responsive gaming experience, making it a top choice for projector ideas for living room gaming setups.
- Input Lag: Below 30ms for competitive gaming.
- Game Mode: Some projectors offer a mode optimized for gaming.
- Refresh Rate: At least 60Hz for smooth motion.
Incorporate Voice Control for Hands-Free Operation
Voice control adds a layer of convenience to your living room projector setup. With smart assistants like Alexa or Google Assistant, you can control various projector functions such as power, volume, and even streaming services, all without lifting a finger.
This feature is especially useful when you're engrossed in a movie or tied up in a gaming session.
- Smart Assistant: Compatible with Alexa, Google Assistant, or Siri.
- Functions: Power, volume, play, pause, and more.
- Setup: Usually requires a compatible smart speaker.
- Security: Ensure the feature comes with privacy settings.
Ensure Adequate Ventilation for Overheat Prevention
Projectors generate heat, and inadequate ventilation can lead to overheating, affecting performance and lifespan. Ensure your projector is placed in a location with good airflow.
Some high-end models come with advanced cooling systems, but it's always good to leave some space around the projector for air circulation.
- Clearance: At least 6 inches around the projector.
- Cooling System: Check if your projector has built-in fans.
- Room Temperature: Keep the room cool for optimal performance.
Use Cable Management Solutions for Clean Aesthetics
A tangle of cables can disrupt the clean look of your living room projector setup. Cable management solutions like cable sleeves, clips, and under-carpet tape can help you organize and conceal the cables.
For ceiling-mounted projectors, consider using a cable raceway that runs along the ceiling and wall to keep cables out of sight.
- Cable Sleeves: Neatly bundle multiple cables.
- Clips and Ties: Secure loose cables.
- Raceways: Conceal cables running along walls or ceilings.
- Under-Carpet Tape: For hiding cables under rugs or carpets.
Regularly Clean Lens for Optimal Picture Quality
Dust and smudges on the projector lens can degrade image quality. Regular cleaning ensures that you get the best possible picture. Use a soft, lint-free cloth for wiping the lens.
For more stubborn dirt, lens cleaning solutions are available. Always refer to the manufacturer's guidelines for cleaning to avoid damaging the lens.
- Lint-Free Cloth: For gentle cleaning.
- Lens Solution: For tougher grime.
- Frequency: At least once a month, or as needed.
Locate Power Outlet
Find a power outlet that's both accessible and safe. Make sure it's not overloaded with other devices to prevent electrical issues.
- Surge Protector: Opt for one with multiple outlets and USB ports.
- Circuit Load: Check that the circuit isn't already overloaded.
- Safety First: Keep the outlet area clear of flammable materials.

How to Setup Projector in Living Room?
You have the concepts, but how can you make them a reality? There is more to installing a projector in your living room than simply plugging it in. To produce a seamless entertainment experience, every component must be optimized. Let's walk through the essential steps to get your projector up and running.
Measure Distance
The distance between the projector and the screen is crucial for image quality. Use the projector's manual to find the optimal throw distance.
- Aspect Ratio: Make sure it matches between the projector and screen.
- Zoom Feature: Some projectors have a zoom feature for flexible placement.
- Ceiling Mount: Consider this if floor space is limited.
Adjust Screen
The screen should be clean and properly aligned. Its position should correspond with the projector's lens to avoid image distortion.
- Screen Material: Matte white is usually the best choice.
- Tension: Pull-down screens should have good tension to avoid wrinkles.
- Wall Mount: Ensure it's securely attached to the wall.
Level Projector
Place the projector on a stable, flat surface. Use the built-in leveling feet or a bubble level tool to ensure it's perfectly horizontal.
- Anti-Slip Mat: Prevents the projector from moving.
- Keystone Correction: Use this feature for minor adjustments.
- Tripod Stand: An option for portable projectors.
Connect Cables
Connect the projector to your source device using the appropriate cables. HDMI is usually the best option for both video and audio.
- Cable Length: Choose one that's long enough but avoids slack.
- Cable Management: Use Velcro ties to keep cables organized.
- Port Availability: Ensure your source device has the necessary ports.
Power On
Turn on the projector and allow it a few seconds to warm up. A startup screen should appear, indicating it's ready for use.
- Remote Control: Use the remote controlfor initial setup.
- Initial Settings: Brightness, contrast, and language may need to be set.
Select Input
Once the projector is on, you'll need to select the correct input source. This is usually done via the projector's remote control or onboard buttons. Navigate to the input menu and choose the option that corresponds to your connected device.
- Multiple Inputs: Some projectors have multiple HDMI, USB, and VGA ports.
- Auto-Detect: Newer models may automatically detect the connected source.
Focus Lens
After selecting the input, focus the lens to sharpen the image. This is usually done by rotating the focus ring on the projector's lens. Some models offer remote-controlled focus adjustments.
- Manual vs. Auto: Know if your projector has manual or automatic focus.
- Test Patterns: Use built-in test patterns for more accurate focusing.
Calibrate Color
Colors can make or break your viewing experience. Access the color settings through the projector's menu. Adjust brightness, contrast, and saturation until the colors on the screen look natural.
- Presets: Many projectors offer color presets like "Cinema" or "Sports."
- White Balance: Adjust to ensure whites are truly white.
Test Audio
If your projector has built-in speakers, test the audio next. Play a video or audio clip to check sound quality. Adjust volume and, if available, equalizer settings.
- External Speakers: For better sound, consider connecting to an external audio system.
- Audio Sync: Ensure audio and video are in sync.
Secure Wires
With everything connected and calibrated, it's time to secure the wires. Use cable organizers or clips to bundle them together neatly. This prevents tripping hazards and keeps your setup looking clean.
- Cable Channels: To hide cables along the floor or wall.
- Cable Length: Excess length can be coiled and secured.
- Safety Check: Ensure cables don't obstruct walkways.
Run Test
Finally, run a test to ensure everything is in working order. Play a video that has a variety of colors and sound levels. Observe the image quality, color accuracy, and audio performance.
- Resolution: Confirm it matches the projector's capabilities.
- Aspect Ratio: Ensure it fits the screen without distortion.
- Audio Levels: Test different frequencies for sound clarity.
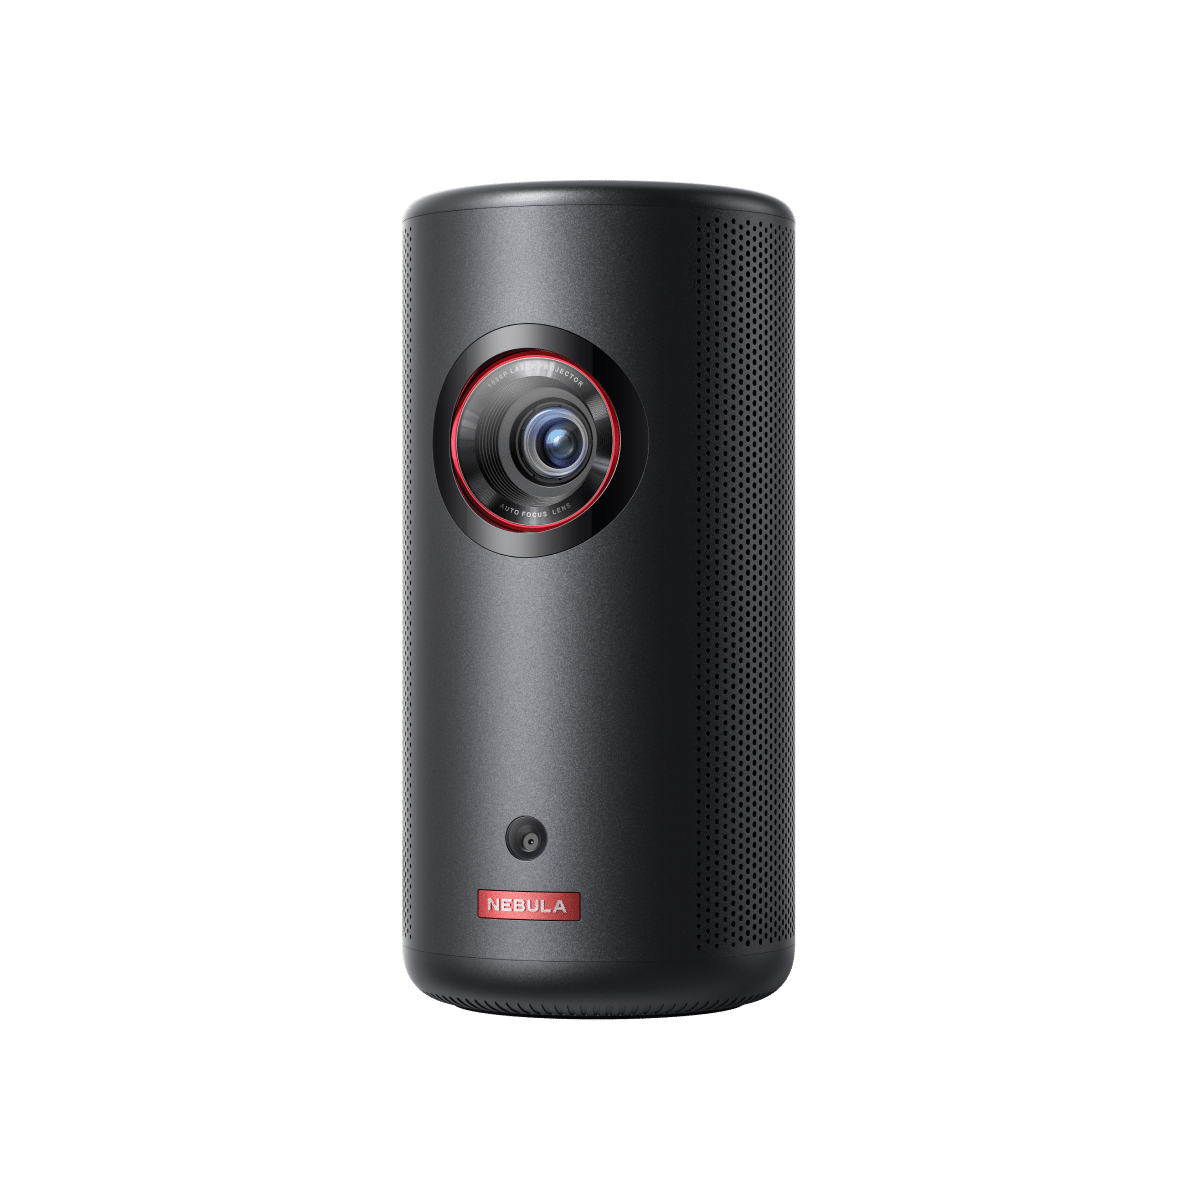
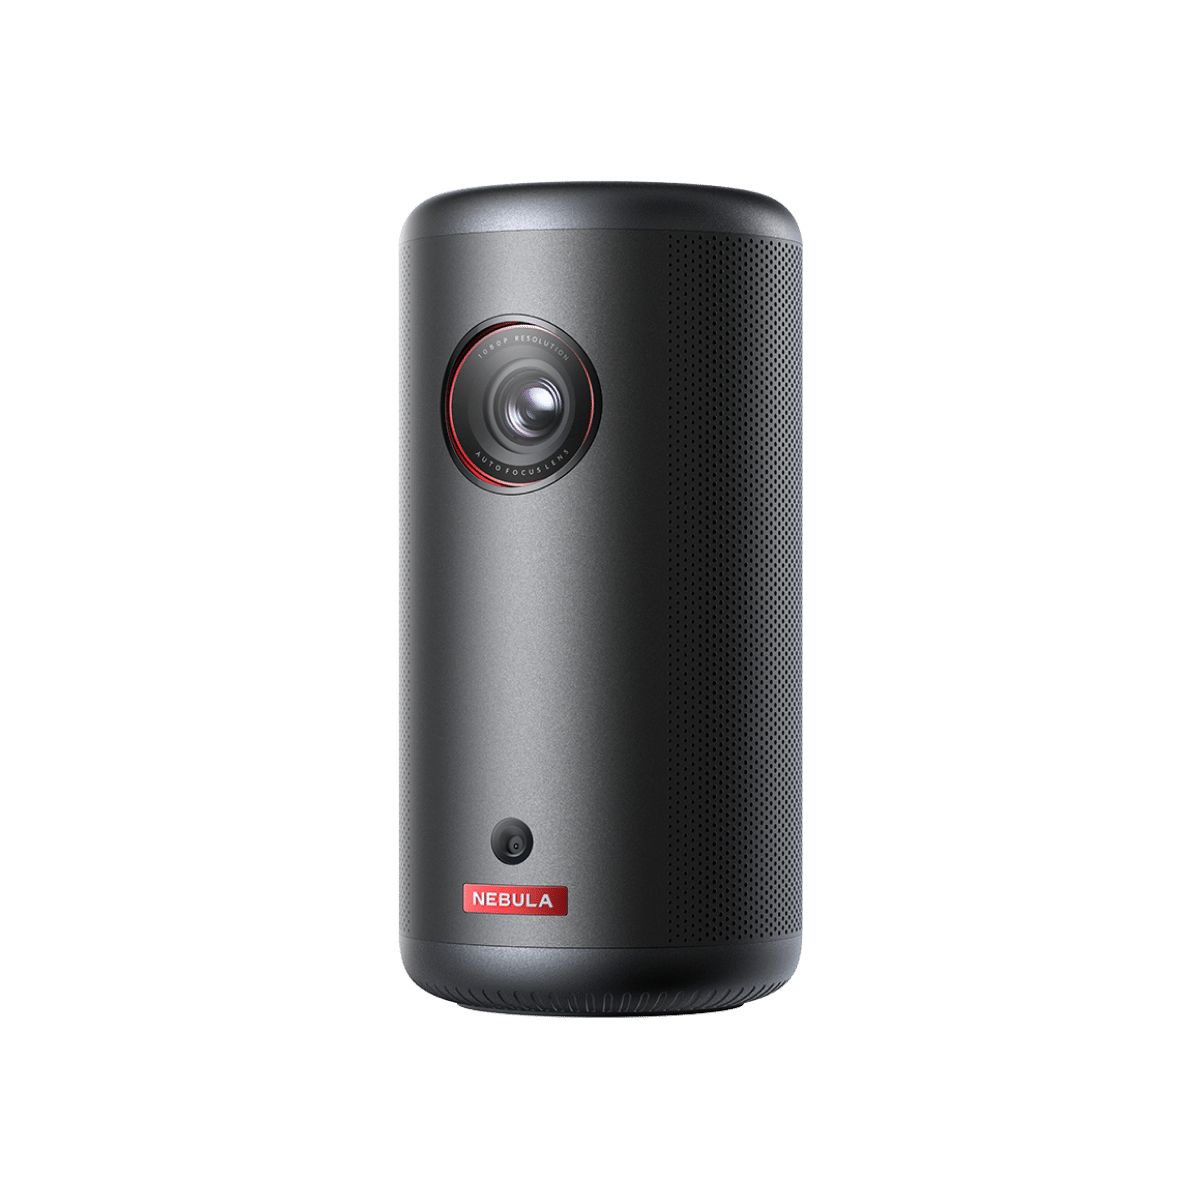
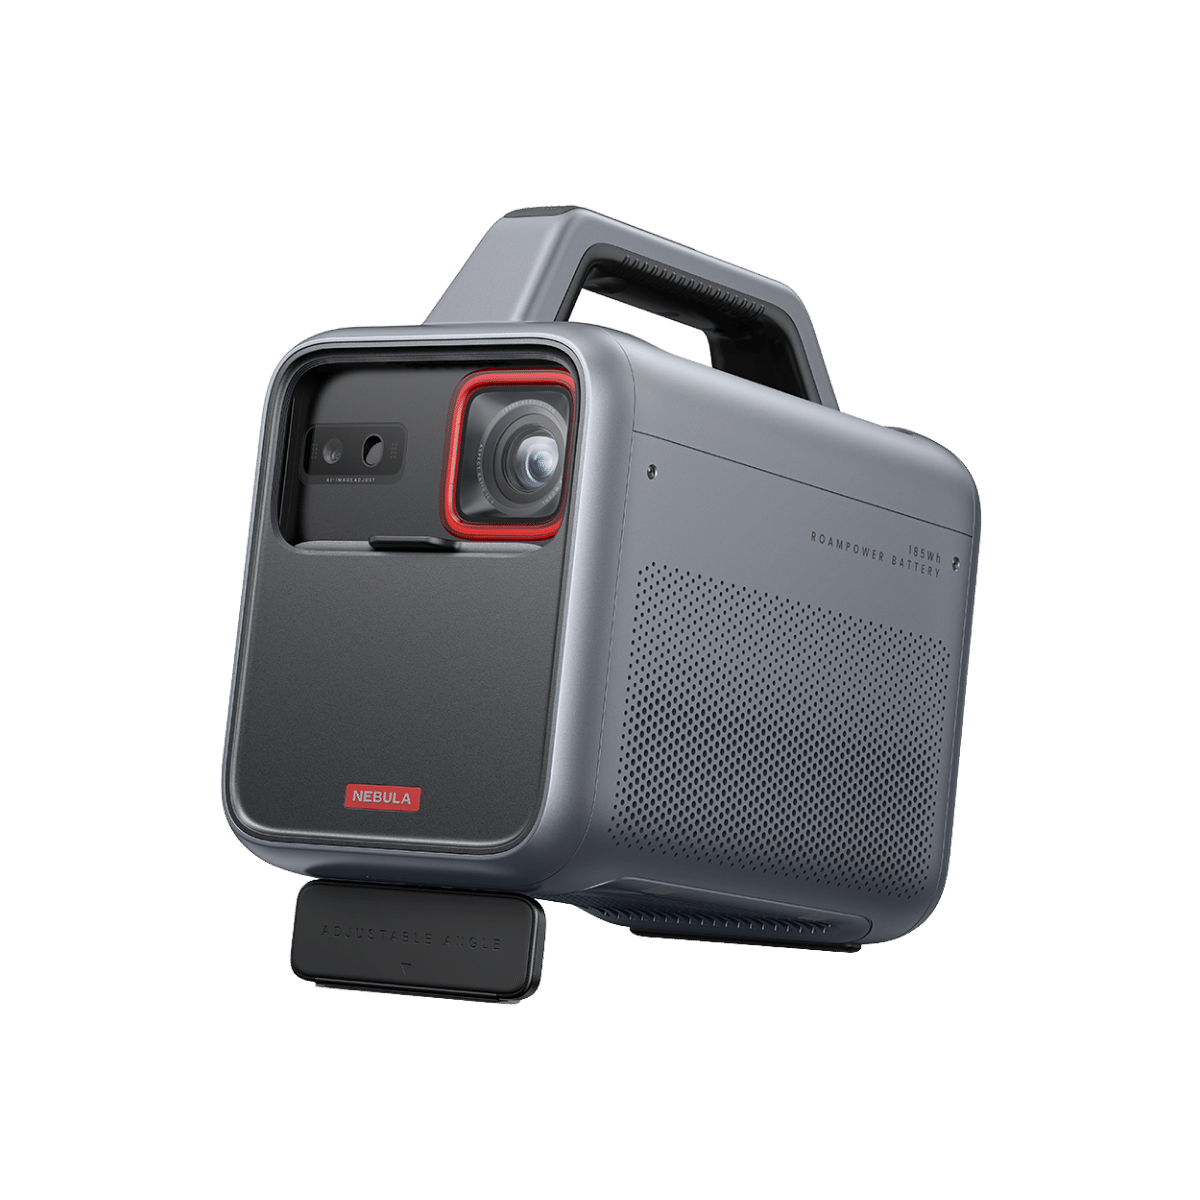
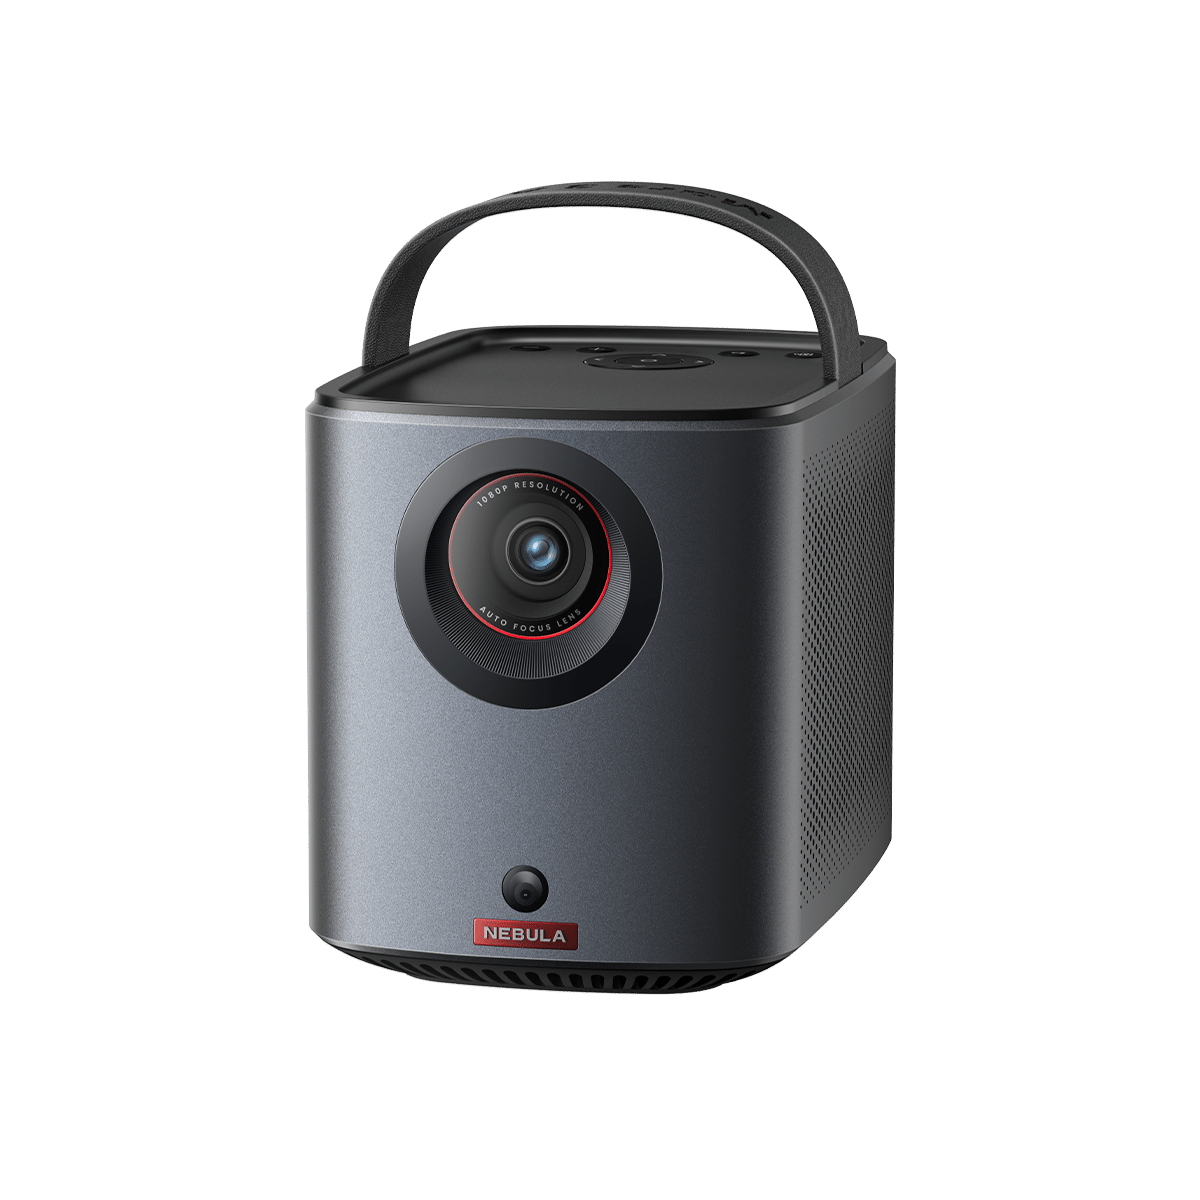
Best Projectors for Living Room
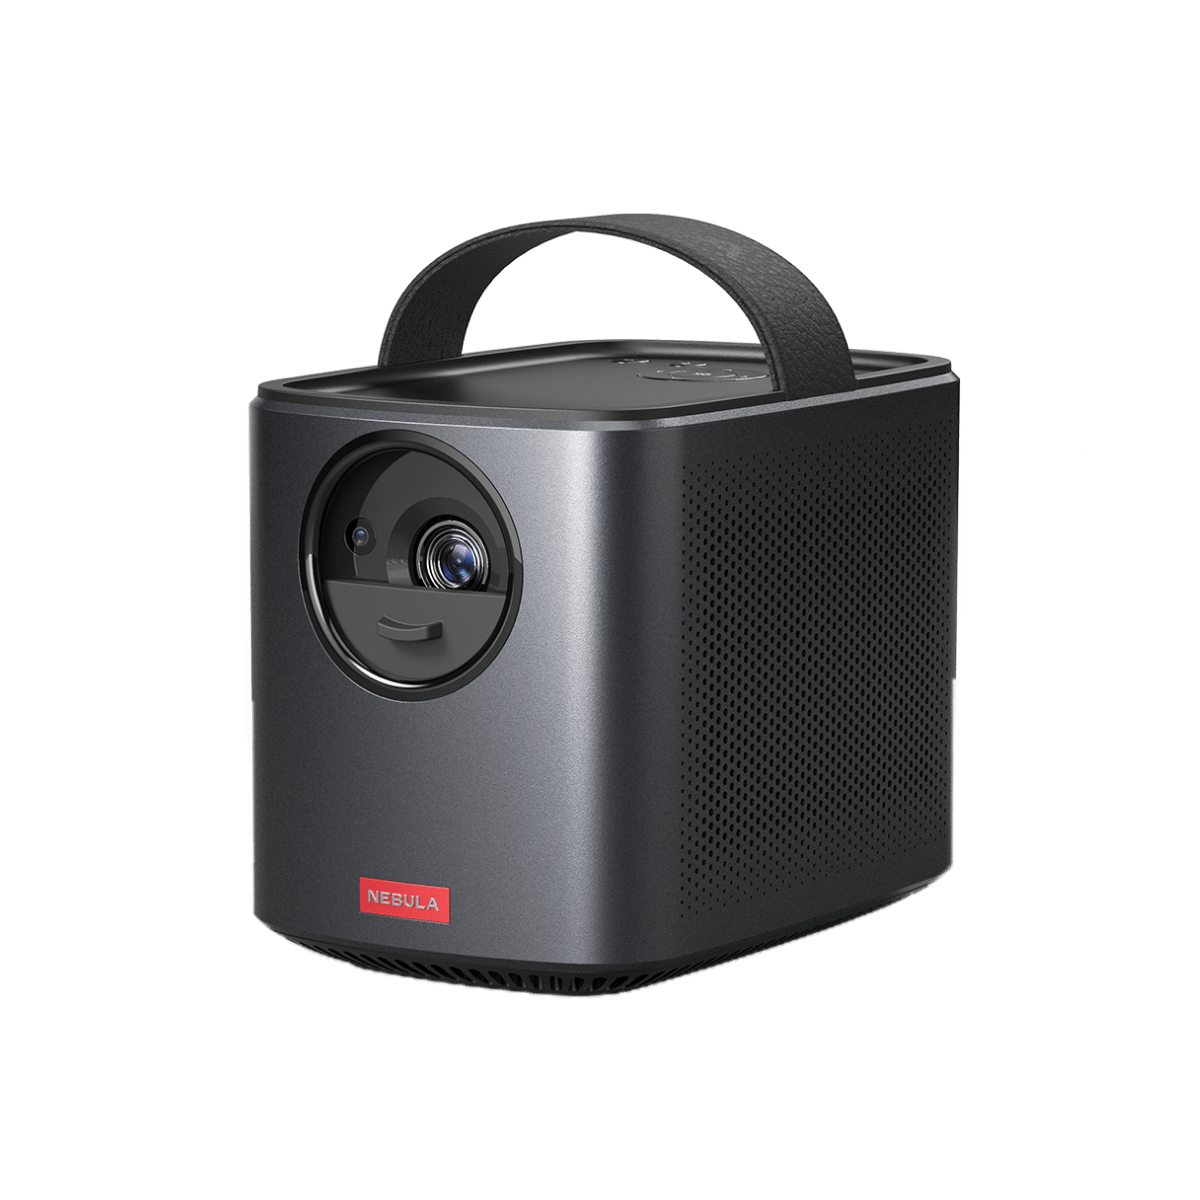
The heart of any projector setup is, of course, the projector itself. But with a market flooded with options, which one is the best projector for living room entertainment? Here, we recommend Nebula Cosmos Max.

Features and Specs
- 4K UHD Image: True cinema experience at home.
- Dolby Digital Plus and Sound Dimension: 360° true 3D audio.
- Adjustable Image Size: Built-in digital zoom, up to 150 inches.
- Android TV: Access to over 5000 apps for endless entertainment.
With its 4K UHD image, you're enveloped in a true cinema experience. The visuals are crisp, the colors vibrant, and the details are so lifelike, you'll forget you're at home.
How about the sound? Nebula Cosmos Max doesn't disappoint. It's equipped with Dolby Digital Plus and Sound Dimension, providing a 360° true 3D audio experience. The sound quality complements the visuals, making your living room feel like a mini-theater.
Flexibility with its built-in digital zoom allows you to adjust the image size without moving the projector. Whether you want a 150-inch cinematic experience or something more intimate, a simple tap on the remote does the trick.
Lastly, the entertainment options are endless. With Android TV, you have access to over 5000 apps. From Hulu and Disney+ to HBO and ESPN, your viewing choices are limitless. Just remember to keep the firmware updated for peak performance.
Conclusion
In wrapping up, optimizing your living room with a projector setup can truly redefine your entertainment experience. From ensuring proper placement to choosing the right equipment, every detail contributes to a cinematic ambience right in the comfort of your home. We hope our tips, ideas, and our recommended projector have equipped you with the knowledge to craft a captivating viewing space.
FAQ
Where can I hide my projector in my living room?
Finding a discreet spot for your projector can be groundbreaking for your living room aesthetics. Ceiling mounts are a popular option; they keep the projector out of sight while providing an optimal viewing angle. Another alternative is a retractable projector lift that hides the device in the ceiling when not in use.
Is projector better than TV for living room?
The projector vs. TV debate boils down to your specific needs. Projectors offer a cinema-like experience with larger screen sizes, making them ideal for movie nights and big gatherings. They're also more portable and easier to conceal. However, they may require a darker room for the best picture quality. TVs, on the other hand, offer brighter displays and are generally better for daytime viewing.


