
Connecting your projector to Wi-Fi unlocks endless entertainment possibilities, enabling seamless streaming, hassle-free presentations, and instant access to a world of online content without the clutter of cables.
This guide will explore three effective methods on how to connect projector to Wi-Fi, alongside invaluable troubleshooting tips for any Wi-Fi connectivity challenges you might encounter. Keep reading to learn more!

How to Connect My Projector to Wi-Fi?
Connecting your projector to Wi-Fi opens up a world of possibilities, providing convenience and flexibility. Let's explore three distinct methods to achieve this seamlessly.
Using the Built-In Wi-Fi Feature
Wi-Fi-enabled projectors provide an easy way to connect wirelessly. Follow these steps to connect to projector via Wi-Fi features:

- Initiate Power and Access Wi-Fi Settings
Turn on your projector, then find the Menu. Employ either the remote control or control panel buttons on the device to reach the Wi-Fi settings.
- Look for Accessible Networks
The screen will display the available network as soon as the projector has finalized the scanning in the Wi-Fi Settings.
- Select Wi-Fi Network
Designate your preferred Wi-Fi network via a projector controller or remote control. In instances of password protection, the system may prompt you to fill in the password. Please make sure the correct capitalization and character of your password.
- Confirm Connection
The projector with Wi-Fi establishes the network connection after password entry. Click the "Confirm" button and the screen will display a wireless icon, which means a successful connection. If doesn't, please check out your password or Wi-Fi distance.
- Adjust Additional Settings (if necessary)
According to your projector model and configurations, you might encounter supplementary options for Wi-Fi adjustments. These may involve IP settings, DNS settings, network protocols, or other advanced choices. Consult the projector’s user manual for precise guidance on these settings.
- Verify Wi-Fi Connection
Once the network connection is in place, conduct a trial on an online platform like YouTube. Employ the built-in applications of a WiFi projector or connect an external device, for example, a PC, to realize successful content streaming.
Using a Wireless Display Adapter
When your projector fails to connect to Wi-Fi, you can regard the adapter as the bridge. A wireless display adapter is a device that enables screen mirroring by wirelessly transmitting content from a compatible device to a display, such as a projector or TV. Here are some steps to connect via a wireless display adapter.
- Inspect Projector Ports
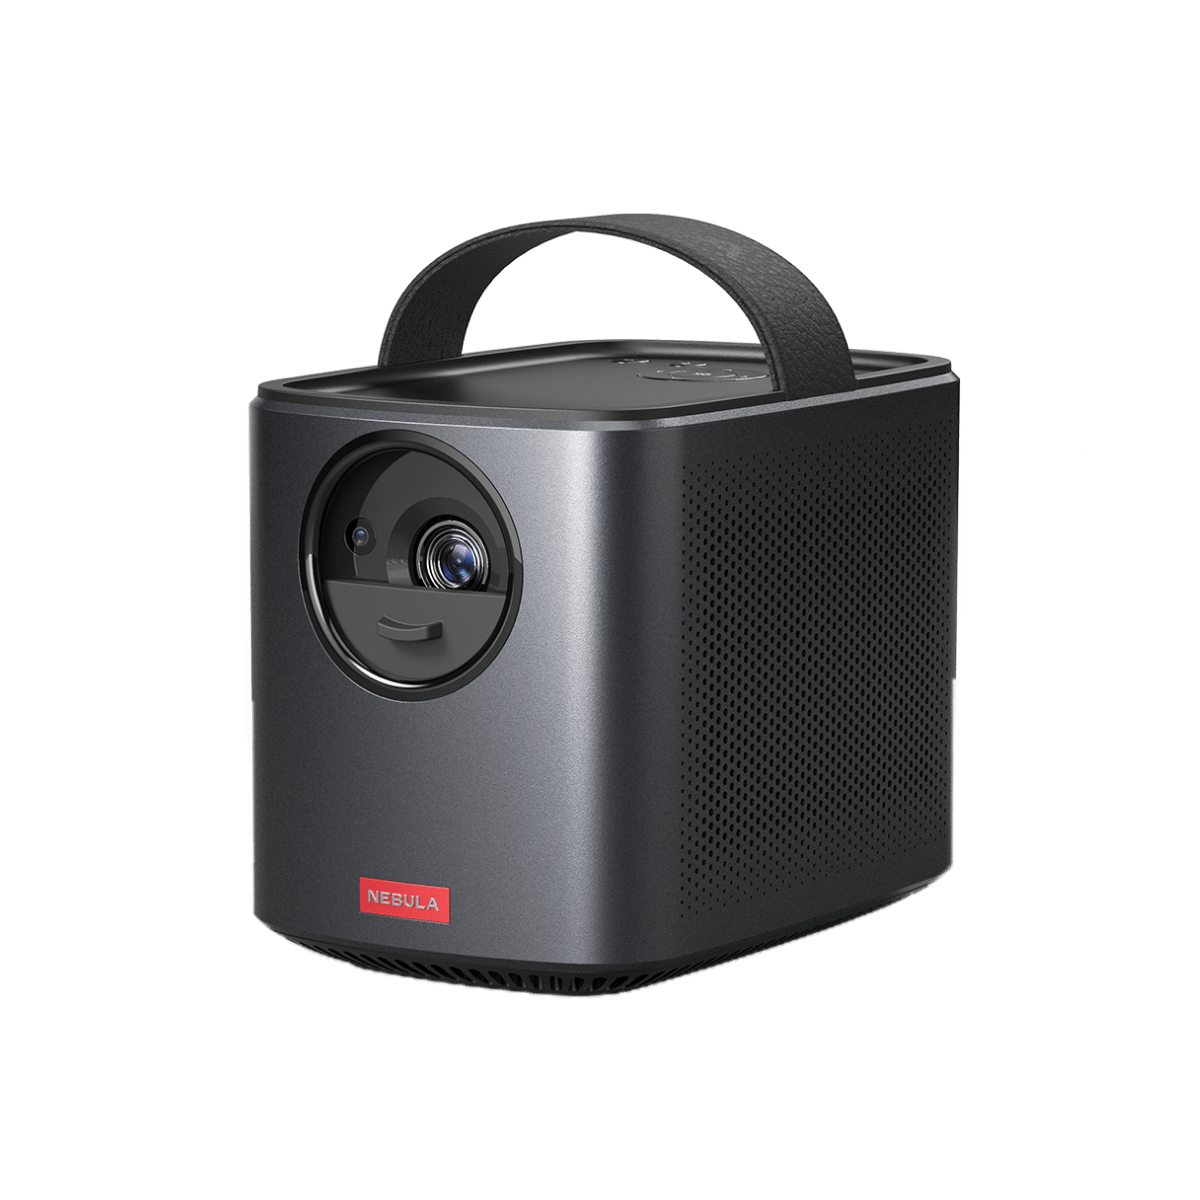
Evaluate your projector's ports suitable for wireless display adapter connectivity. Normally, a projector like Capsule 3 has a USB or an HDMI port to provide multiple options to connect external devices.

- Get a Wireless Display Adapter
Buy a wireless display adapter compatible with your movie projector. Notable models include Chromecast with Google TV and Amazon Fire TV Stick.
- Connect Adapter to Projector
Plug the HDMI / USB end of the adapter into the corresponding port of the projector. And make sure the connection is secure. Turn on the adapter by connecting it to a power source via a USB cable.
- Configure the Wireless Display Adapter
Set up the wireless display adapter by connecting the adapter to your Wi-Fi network via a mobile device or computer.
- Choose the Adapter as Display Source
Once configured, you can use a remote control or control panel to switch the input source of the projector to the HDMI or USB port connected to the adapter.
- Mirror Screen
Access the screen mirroring or casting feature on your smartphone, laptop, or PC. Choose the adapter from the list of available devices to mirror your desired content onto the projector.
- Validate the Connection
To ensure successful screen mirroring or casting on the projector, you can play an audio or a video to recheck whether the sound and image are synchronized.
Using an Ethernet Cable
If you want to connect the smart projector to your WiFi efficiently with low latency and resistance to interference, using an Ethernet cable is a good idea. It facilitates the transmission of data between devices, offering reliable and stable connectivity. Here are the connection steps:

- Verify Projector Connectivity
Confirm that your projector features an Ethernet port, typically resembling an enlarged telephone jack.
- Find a Router or Modem
A modem connects your home to your Internet Service Provider (ISP), enabling the reception of data signals. A router directs this internet connection to various devices within your home network, allowing multiple devices to access the internet simultaneously and efficiently. Thus, you should locate a modem for an internet connection or a router for a functional local network if you have one.
- Establish Ethernet Connection
Plug one end of the cable into the projector's Ethernet port and the other end into an available port on the router or modem.
- Validate Connection
Activate the projector and ensure a dependable internet connection. This method proves advantageous in settings where Wi-Fi signals might be feeble or congested.
Troubleshooting Tips for Wi-Fi Connection Issues
Despite following the above steps, you might encounter Wi-Fi connection issues. Here are some troubleshooting tips:
- Check Physical Connections
Ensure all cables connected to your router, modem or projector are secure. Power cycle both devices by unplugging them, waiting for 30 seconds, and then plugging them back in.
- Restart Your Device
Often, simply restarting both your projector and Wi-Fi router can resolve connectivity problems.
- Wi-Fi Signal Strength
Verify that you are within the range of your Wi-Fi network. Walls and other obstacles can weaken the signal. Please reposition your router or consider using a Wi-Fi extender to improve coverage.
- Network Name (SSID) and Password
Confirm that you are trying to connect to the correct Wi-Fi network. Check the network name (SSID) and password, ensuring they are entered correctly.
- Device Compatibility
Ensure that your projector supports the Wi-Fi standard (e.g., 802.11ac or Wi-Fi 5) used by your router. Outdated devices may have compatibility issues with newer Wi-Fi technologies.
- Interference from Other Devices
Electronic devices like cordless phones and microwave ovens can interfere with Wi-Fi signals. Keep these devices away from your router, and consider changing the Wi-Fi channel to minimize interference.
- Factory Reset
As a last resort, a factory reset can help resolve deeper issues, but remember this will erase all settings on your projector.
Conclusion
Connecting your projector to Wi-Fi can greatly enhance your multimedia experiences, offering the convenience of wireless streaming and presentations. Whether you use the built-in Wi-Fi feature, a wireless display adapter, or an Ethernet cable, ensuring a stable connection is key to a seamless display. Remember to follow the troubleshooting tips if you encounter any connectivity problems, ensuring your presentations and movie nights go off without a hitch.
FAQ
How to connect Nebula projector to Wi-Fi?
To connect Wi-Fi to your Nebula projector with Android TV OS, please follow these steps:
- Select the Wi-Fi network you want to connect to by going to "Setting" > "Network & Internet".
- Go back to the "Homepage", then click "Notifications".
- Enter your username and password.
Why is my projector not connecting to Wi-Fi?
If your projector fails to connect to WiFi, please take the following into account:
- Defective Wi-Fi module: If the projector doesn't connect despite appearing in Wi-Fi settings, the module might be faulty.
- Weak signal: Obstacles or weak Wi-Fi might hinder connection; move closer, use a repeater, or check for signal-blocking materials.
- Incorrect password: Ensure the correct Wi-Fi password is entered.


