
Whether you're gearing up for a presentation, movie night, or a gaming session, knowing how to connect projector to computer is key. In this step-by-step guide, we'll walk you through the various methods, making the seemingly complex task a breeze. From traditional cables like HDMI, DVI, VGA, and USB to cutting-edge wireless connections, we've got you covered. Let's dive into the world of connectivity, ensuring your projector and computer become the dynamic duo you've always envisioned.
How to Connect Projector to Computer via Cables?
When it comes to establishing a solid connection between your computer and projector, various cable options offer reliable solutions. Here's a step-by-step guide on how to connect computer to projector by different cable types:
Connect Projector to Computer via HDMI
High-Definition Multimedia Interface (HDMI) cables are the gold standard for video and audio transmission. Most projectors and Windows computers feature HDMI ports, making this method widely applicable. For macOS users, a converter may be necessary due to Apple's evolving cable standards. Follow these steps for a smooth computer to projector connection:
- Connect one end of the HDMI cable to your computer's HDMI-out port.
- Connect the other end to the projector's HDMI-in port.
- Refer to your projector's manual to set up HDMI as the input source.
- For Windows users, navigate to Start Menu > Settings > System > Display > Advanced Settings. Detect and select "Duplicate These Displays" to mirror your computer monitor.
- For macOS users, click the Apple icon > System Preferences > Displays > Arrangement. Check the "Mirror Displays" box.
Ensure the HDMI cable is of high quality for optimal signal transmission.
Connect Projector to Computer via DVI
Before HDMI dominated, DVI cables were the preferred choice for high-quality video transfer. Most projectors support DVI, and converters are available for various output types. Follow these universal steps for connecting via DVI:
- Connect one end of the DVI cable to your computer's DVI-out port.
- Connect the other end to the projector's DVI-in port.
- Follow the same steps as outlined in the HDMI section for both Windows and macOS users.
DVI converters are versatile, ensuring compatibility with USB Type-C, HDMI, and VGA.
Connect Projector to Computer via VGA
VGA displays, despite their age, remain a reliable option for many projectors and computers. If both your devices feature VGA ports, a standard VGA cable suffices. Otherwise, employ a DVI or HDMI to VGA converter. Follow these steps:
- Connect one end of the VGA cable to your computer's VGA-out port.
- Connect the other end to the projector's VGA-in port.
- Set the projector to the VGA input source.
- Follow the same steps as outlined in the HDMI section for both Windows and macOS users.
Note: VGA quality may degrade at higher resolutions, so consider adjusting your system resolution for optimal image quality.
Connect Projector to Computer via USB
Many projectors come equipped with native USB ports, especially for interactive features. Follow these steps to connect via USB:
- On Windows, connect a standard USB-A cable from your computer to the projector's USB port.
- On macOS, use a converter if necessary to connect USB-A cables.
- If prompted, install any necessary drivers for your projector.
- Follow the same steps as outlined in the HDMI section for both Windows and macOS users.
Ensure your smart projector supports USB communication for a seamless connection.
How to Connect Projector to Computer Wirelessly?

Connecting a projector to a computer wirelessly can provide convenience and flexibility in various settings. Here is a step-by-step guide on how to connect projector to computer wirelessly:
- Ensure Compatibility: Before you start, verify that both your projector and computer support wireless connectivity. Check for features like Wi-Fi or Bluetooth capabilities on your devices.
- Power On Devices: Turn on both the wifi projector and your computer.
- Connect to the Same Network: If your projector uses Wi-Fi, ensure that it is connected to the same Wi-Fi network as your computer. This step is crucial for seamless communication between the two devices.
- Activate Wireless Features: On the projector, navigate to settings and activate the wireless or Wi-Fi feature. Consult your projector's user manual for specific instructions on enabling wireless connectivity.
- Enjoy Wireless Connectivity: Once the connection is established, your computer's screen should be mirrored or extended on the projector. You can now seamlessly enjoy presentations, movies, or any content wirelessly.
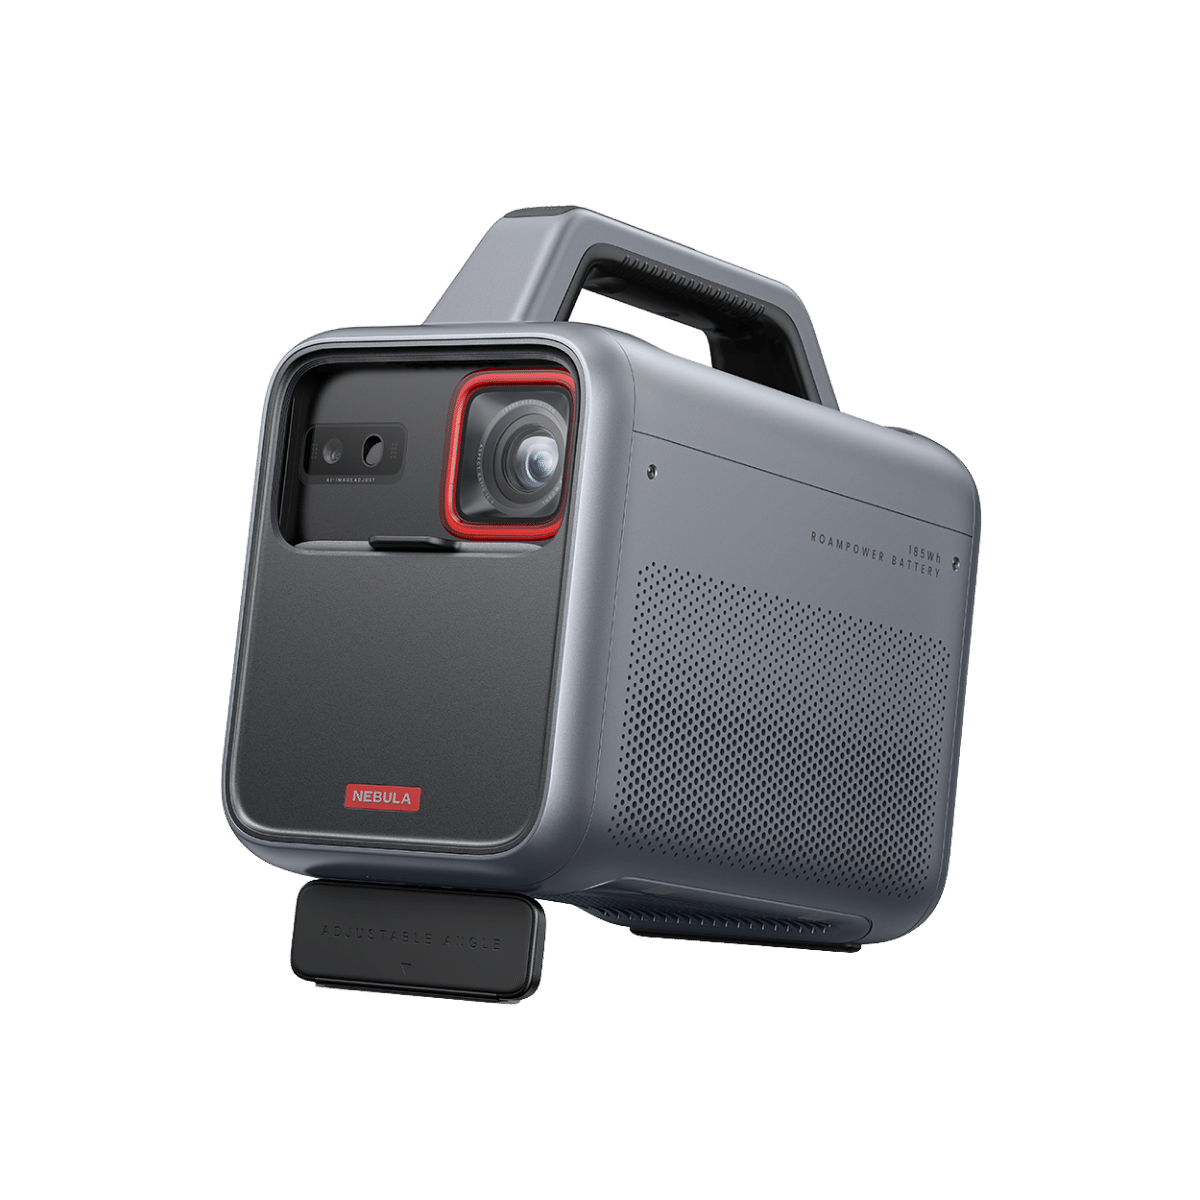
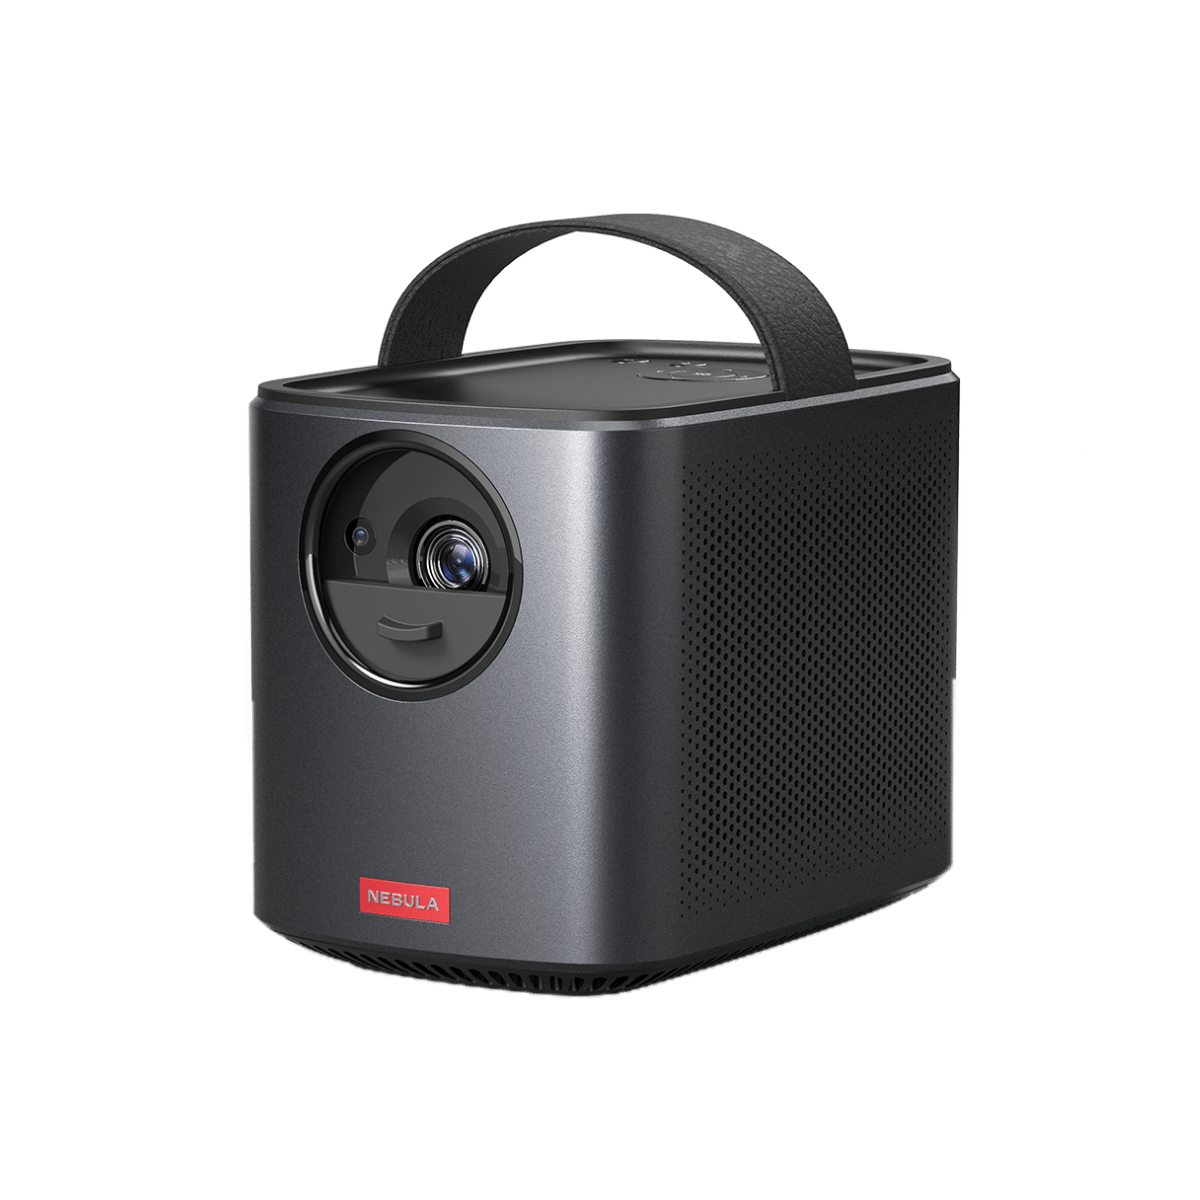
Wireless connectivity adds a new dimension to your presentations, allowing you to move freely without the constraints of cables. For those seeking a reliable wireless solution, the Nebula Mars 3 Air projector provides an excellent option.
Conclusion
Now you've successfully learned how to connect projector to computer using various methods. Enhance your viewing or presentation experience by choosing the method that suits your needs. Happy projecting!
FAQ
Why Is My Computer Not Connecting to My Projector?
If your computer is not connecting to your projector, the issue may stem from several sources such as incorrect input source selection on the projector, faulty or improperly connected cables (HDMI, VGA, USB, etc.), outdated or incompatible drivers on your computer, or incorrect display settings on your computer (like not extending or mirroring the display correctly). Ensure the projector is set to the correct input, cables are securely connected and in good condition, update your computer's graphics drivers, and adjust your display settings appropriately to resolve the issue.
Why Is My Projector Connected but No Signal?
When a projector is connected but displays no signal, it's often due to incorrect input source selection, faulty cables or connections, or an issue with the device sending the signal. Ensure the projector is set to the correct input source matching the connected device. Check and securely reattach or replace any cables to ensure they're not damaged. Additionally, verify the output settings on the connected device are compatible with the projector's supported resolutions and refresh rates for proper signal transmission.


