
Despite the fact that you've invested a good sum in a top-notch projector, are you really taking advantage of all of its features? The colors are skewed, the focus is blurry, and the experience is lackluster. The culprit? An often overlooked yet vital step—proper projector calibration.
Fortunately, this piece explores how calibrating your projector can elevate your presentations, movie nights, art installations, and more from ordinary to extraordinary.
Let's get to the heart of this process and begin with the basics.
What is Calibration?
Projector calibration is the systematic process of fine-tuning a range of settings to ensure that your projector's output—colors, brightness, contrast, and more—matches the original source as closely as possible.
The ultimate goal of projector calibration is to achieve a level of visual fidelity where what you see on the screen is a true representation of the original content.
Whether it's a movie, a business presentation, or a video game, calibration aims to deliver an accurate and high-quality visual experience.
Why It Matters
- Image Quality: The most obvious reason. You want your movies, presentations, or games to look their best. A poorly calibrated projector can distort colors, blur details, and generally ruin your viewing experience. Calibration ensures that what you see on screen is as close to the original source as possible.
- Consistency Across Devices: Maybe you have multipleprojectors or you're planning to upgrade. Calibration ensures that you get a consistent image quality across all devices. This is especially crucial in professional settings where presentations need to look their best.
- Longevity and Cost-Efficiency: Believe it or not, a well-calibrated projector can last longer. When brightness and contrast are optimized, the projector doesn't have to work as hard, reducing wear and tear on the hardware. This translates to fewer repairs and a longer lifespan, saving you money in the long run.
- Optimal Viewing in Different Environments: Different lighting conditions can drastically affect how an image looks. Calibration allows you to adjust settings for various environments, ensuring optimal viewing whether you're in a dark home theater or a brightly lit conference room.
- Personalized Experience: Everyone has their own preferences when it comes to color balance, brightness, and contrast. Calibration allows you to tailor the viewing experience to your personal taste, rather than settling for factory settings designed for the 'average' user.
- Enhanced Functionality: Modern projectors come with a range of features like 3D capabilities, various aspect ratios, and even interactive functions. Calibration ensures that you're getting the most out of these features by optimizing them for your specific use-case.
Projector Calibration Tools
Calibrating a projector is an art and science combined. To achieve the best picture settings for your projector, having the right tools is imperative. These calibration tools can be broadly classified into two categories: software tools that facilitate digital adjustments, and hardware tools for tangible, precise measurements and tweaks.
Software Calibration Tools
Built-In Test Patterns: Many modern projectors include built-in test patterns specifically designed to aid users in the calibration process. These patterns, such as grids or color bars, are particularly useful for making initial adjustments or for periodic check-ups on settings like sharpness, brightness, contrast, and color accuracy.
Computer Calibration Software: This is specialized software installed on a computer. It provides interactive projector calibration guides, offering real-time feedback and adjustment options. Some versions can work with hardware tools, like colorimeters, for more precise calibration.
Calibration Discs or Videos: These are media sources, either discs or downloadable videos, filled with projector calibration images and patterns. When played through a projector, they provide visual cues to help you manually adjust settings like brightness, contrast, and color.
Hardware Calibration Tools
Colorimeters: These are small devices placed in front of the projector screen to measure the accuracy of colors being displayed. When used with calibration software, they help ensure that the projector's colors are true to the source content.
Photometers: These tools measure the brightness of the projected light. By capturing light intensity from different parts of the projected image, they help ensure that both bright and dark parts of an image are displayed with clarity.
Pattern Generators: Ideal for professionals, these devices connect to the projector and display a variety of test patterns. These patterns provide a more comprehensive guide for adjusting projector settings, ensuring optimal image quality.
How to Calibrate Projector
Now that we're familiar with the essential calibration tools, it's time to delve into the heart of the matter. Proper calibration can transform your viewing experience from mediocre to cinematic. Let's walk through this step-by-step guide to ensure you get the most out of your projector's performance.
1. Initial Setup
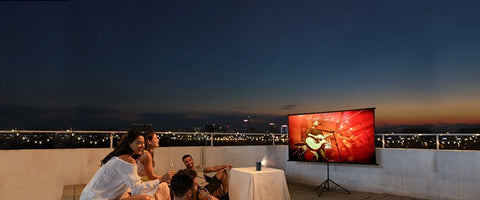
- Environment: Before starting, ensure the room's lighting reflects the typical viewing conditions. If you watch movies in the dark, calibrate in the dark. If presentations are under ambient lighting, that's your calibration setting.
- Positioning: The projector should be perpendicular to the screen without any tilts to prevent geometric distortions.
2. Aspect Ratio Setting
Aspect ratio is the ratio of the width to the height of the image. Common aspect ratios include 4:3, 16:9, and 21:9. Choose the one that best fits your screen and content. Incorrect aspect ratios can lead to stretched or compressed images, affecting your viewing experience.
3. Geometry and Alignment
If you're wondering, "how do I adjust projector to fit screen?", this is the step to focus on. With the correct aspect ratio set, alignment adjustments can be made to ensure the image fits perfectly on the screen and is free of any distortions.
- Grid Patterns: Project grid patterns to check for any warping or distortions.
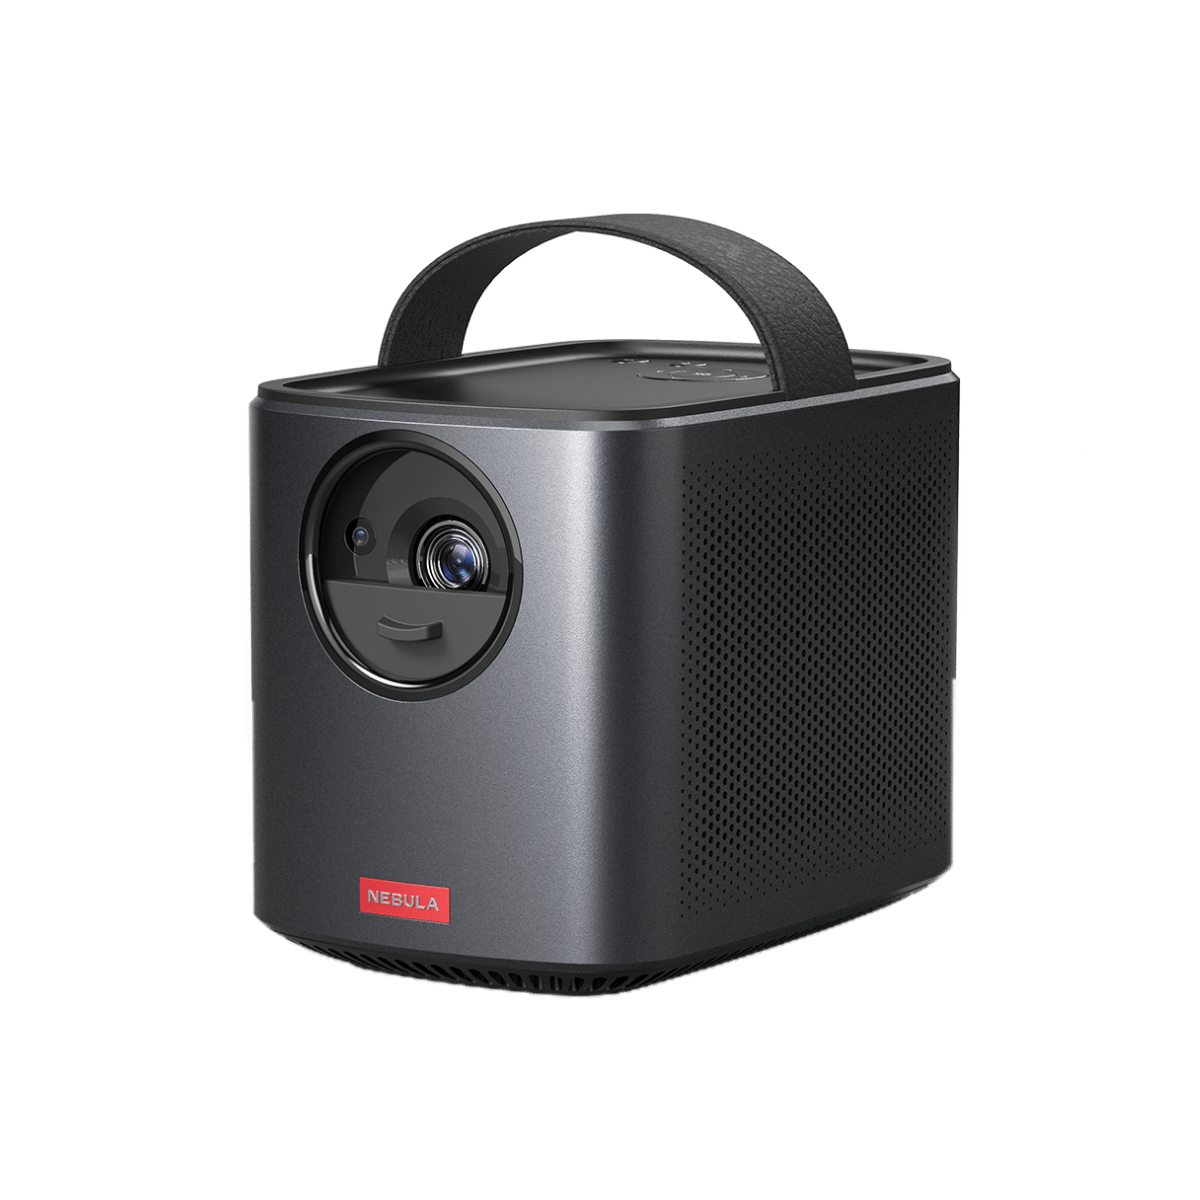
- Correction Features: Many modern projectors, like the Nebula Capsule, come equipped with keystone correction features. Use these to rectify any geometric misalignments.
4. Focus and Sharpness
- Fine Details: Project an image with intricate details or text. Adjust the projector's focus ring until the details are crisp and clear.
- Sharpness: Check the sharpness setting. Ensure it's set to a level that brings out details without introducing artificial outlines or "halos" around objects.
5. Brightness and Contrast
- Test Patterns: Use a calibration disc, video, a pattern generator, or the built-in feature to display patterns specifically for brightness and contrast.
- Adjustment: Make sure that whites are clear without appearing overly bright and that blacks are deep without losing detail in the shadows.
6. Color Calibration
- Colorimeter Use: For precise projector color calibration, use a colorimeter in tandem with calibration software.
- Manual Tweaking: Display a color pattern and adjust settings like color temperature, tint, and saturation until the colors on screen match your reference or appear natural.
7. Uniformity Check
- Single Color Display: Project a uniform color (like white or gray) across the entire screen.
- Observation: Look for any noticeable variations in brightness or color. If there are inconsistencies, they may be due to projector or screen anomalies.
8. Save the Calibrated Settings
- Storing Profiles: After calibrating, navigate to the projector's menu and save the settings. Many projectors allow you to save multiple profiles. This is useful if you have different calibration preferences for movies, gaming, or presentations.
- Regular Checks: Remember that over time, as bulbs age and other factors come into play, recalibration might be necessary. Regularly check your saved settings against fresh calibrations to ensure the best viewing experience.
Conclusion
It's clear: projector calibration isn't a corner to cut. It's the difference between a forgettable visual and one that lingers in the mind long after the screen goes black. Whether you're setting up for a high-stakes business presentation or a movie night at home, calibration is your silent partner in achieving visual mastery.
Avoid letting your investment go to waste by neglecting these essential steps and tips.
Calibrate, and then sit back to enjoy the vivid, crisp, and true-to-life visuals that you didn't even know you were missing.
After all, why settle for good when you can have exceptional?
FAQ
When Should You Calibrate a Projector
Calibrate your projector when you first set it up to ensure optimal performance. Subsequent calibrations are advisable after significant changes, such as moving the projector or replacing the lamp. Regular maintenance, roughly every six months, can also warrant recalibration. Calibration ensures accurate color reproduction and sharp focus, enhancing your viewing experience.
How Do I Get the Best Picture on My Projector
To achieve the best picture, start by positioning the projector at a suitable distance from the screen. Ensure the room is dark enough to maximize contrast. Use the projector's built-in settings to adjust brightness, contrast, and color balance. High-quality cables and up-to-date software can also improve picture quality. For advanced adjustments, consider professional calibration services.


