How to select
Projector Discoloration | What Causes It & How ...
Projector discoloration is a common problem in multimedia displays. The strange colors, blotches, or uneven tints can reduce the quality of images projected onto screens or walls. In this comprehensive...
Projector Discoloration | What Causes It & How ...
Projector discoloration is a common problem in multimedia displays. The strange colors, blotches, or uneven tints can reduce the quality of images projected onto screens or walls. In this comprehensive...
Step-by-Step Guide: How to Mount a Projector Li...
Charting a course through the mounting process of a projector can be a challenging venture. Yet, our guide aims to clarify each step with precision, eliminating common concerns such as...
Step-by-Step Guide: How to Mount a Projector Li...
Charting a course through the mounting process of a projector can be a challenging venture. Yet, our guide aims to clarify each step with precision, eliminating common concerns such as...
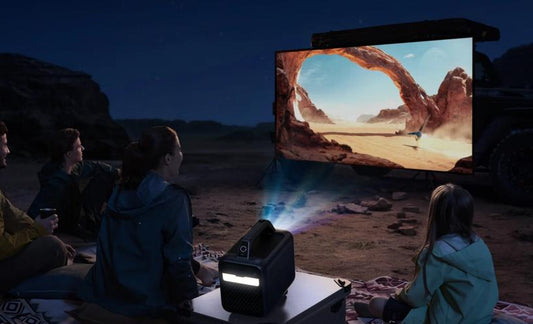
What Is Projector Screen Gain? All You Need to ...
If you're a cinephile or someone who loves watching movies, you might be familiar with the importance of having the right setup for your home theater. A key component of...
What Is Projector Screen Gain? All You Need to ...
If you're a cinephile or someone who loves watching movies, you might be familiar with the importance of having the right setup for your home theater. A key component of...
Understanding Projector Aspect Ratio & Choosing...
Choosing the right projector aspect ratio can make a significant difference in your viewing experience. Whether you're setting up a home theater, office presentation system, or using a projector for...
Understanding Projector Aspect Ratio & Choosing...
Choosing the right projector aspect ratio can make a significant difference in your viewing experience. Whether you're setting up a home theater, office presentation system, or using a projector for...

Your Projector Is Upside Down? Let’s Set Them R...
Projectors have become indispensable tools for presentations, entertainment, and immersive experiences. But what do you do when you set up your projector, and to your dismay, the projector is upside...
Your Projector Is Upside Down? Let’s Set Them R...
Projectors have become indispensable tools for presentations, entertainment, and immersive experiences. But what do you do when you set up your projector, and to your dismay, the projector is upside...
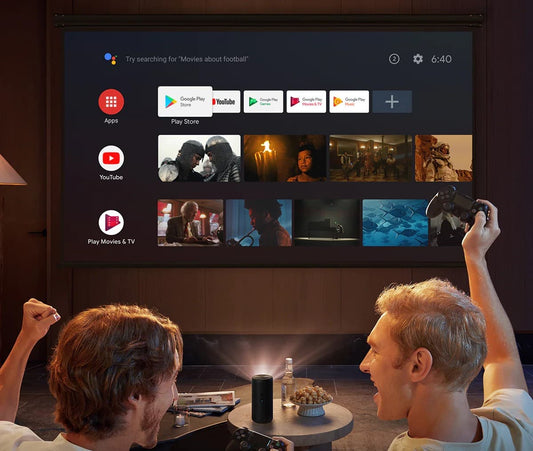
How to Connect Mac to Projector: A Comprehensiv...
In today's technology-driven world, presentations, multimedia content, and educational lessons often rely on larger screens for better visibility and group discussions. Whether you're in a board meeting, a classroom, or...
How to Connect Mac to Projector: A Comprehensiv...
In today's technology-driven world, presentations, multimedia content, and educational lessons often rely on larger screens for better visibility and group discussions. Whether you're in a board meeting, a classroom, or...