How to select
How to Connect Laptop to Projector with HDMI: S...
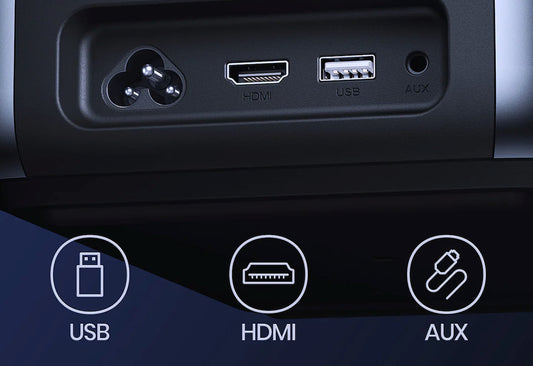
Most projectors today come equipped with at least one HDMI port to facilitate the transmission of high-definition multimedia signals. Whether you're preparing for a crucial business presentation, organizing a lecture,...
How to Connect Laptop to Projector with HDMI: S...
Most projectors today come equipped with at least one HDMI port to facilitate the transmission of high-definition multimedia signals. Whether you're preparing for a crucial business presentation, organizing a lecture,...
Laser TV vs Projector - An In-depth Manual
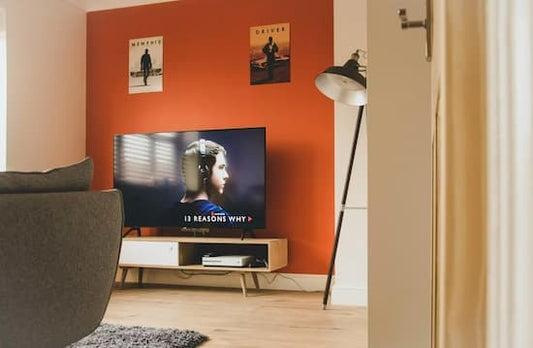
Have you ever considered transforming your living room into a cinematic haven? Two popular options stand out for this upgrade: laser TVs and projectors. Both promise a larger-than-life viewing experience....
Laser TV vs Projector - An In-depth Manual
Have you ever considered transforming your living room into a cinematic haven? Two popular options stand out for this upgrade: laser TVs and projectors. Both promise a larger-than-life viewing experience....

Best Projector Screens: Review & Choosing Tips
When it comes to creating an immersive home theater experience or delivering impactful presentations, the projector screen plays a crucial role. With a myriad of options available in the market,...
Best Projector Screens: Review & Choosing Tips
When it comes to creating an immersive home theater experience or delivering impactful presentations, the projector screen plays a crucial role. With a myriad of options available in the market,...

10 Creative Basement Home Theater Ideas for 2024
Transforming your basement into a home theater is a fantastic way to create a cozy and entertaining space right in the comfort of your own home. Whether you're a movie...
10 Creative Basement Home Theater Ideas for 2024
Transforming your basement into a home theater is a fantastic way to create a cozy and entertaining space right in the comfort of your own home. Whether you're a movie...

ISO Lumens VS. ANSI Lumens: Brightness Standard...
Navigating the world of projectors, one often stumbles upon technical jargon that defines the device's performance. One such critical aspect determining the quality of projection is brightness, and this is...
ISO Lumens VS. ANSI Lumens: Brightness Standard...
Navigating the world of projectors, one often stumbles upon technical jargon that defines the device's performance. One such critical aspect determining the quality of projection is brightness, and this is...

ANSI Lumens VS. Lumens: Illuminating the Differ...
When browsing for projectors, one often stumbles across the terms "lumens" and "ANSI lumens." While they might seem interchangeable, understanding the distinction between them is crucial for making informed purchasing...
ANSI Lumens VS. Lumens: Illuminating the Differ...
When browsing for projectors, one often stumbles across the terms "lumens" and "ANSI lumens." While they might seem interchangeable, understanding the distinction between them is crucial for making informed purchasing...