User Guide

6 Creative DIY Outdoor Projector Screen Guide I...
Many have come to treasure outdoor movie nights as a delightful fusion of entertainment and nature's embrace. Picture a starlit romantic evening, a lively family get-together, or a tranquil solo...
6 Creative DIY Outdoor Projector Screen Guide I...
Many have come to treasure outdoor movie nights as a delightful fusion of entertainment and nature's embrace. Picture a starlit romantic evening, a lively family get-together, or a tranquil solo...
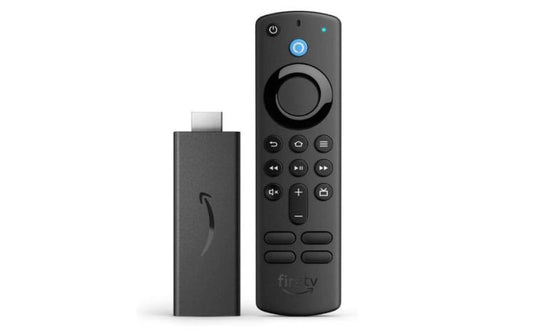
Ultimate Guide: How to Connect Firestick to Pro...
The Amazon Firestick, a compact yet powerful streaming device, offers an array of content from movies and TV shows to apps and games. By integrating it with a projector, you...
Ultimate Guide: How to Connect Firestick to Pro...
The Amazon Firestick, a compact yet powerful streaming device, offers an array of content from movies and TV shows to apps and games. By integrating it with a projector, you...

How to Connect Phone to Projector: Step-by-Step...
Sharing content from our phones on a larger screen is often a necessity in today's digital age. Whether you're a professional presenting a slide deck, a teacher sharing educational content,...
How to Connect Phone to Projector: Step-by-Step...
Sharing content from our phones on a larger screen is often a necessity in today's digital age. Whether you're a professional presenting a slide deck, a teacher sharing educational content,...
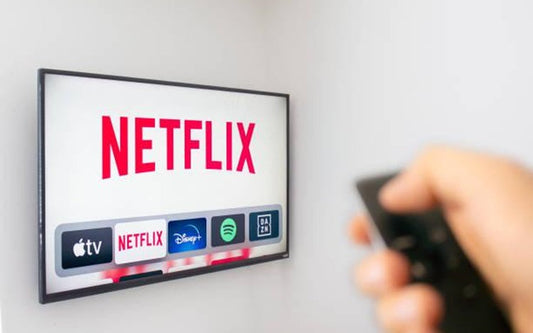
Netflix Party 101: A Guide to Watching Movies w...
Did you know that over 200 million people stream Netflix worldwide, but many miss out on the joy of watching together? If you've been wondering how to watch Netflix with...
Netflix Party 101: A Guide to Watching Movies w...
Did you know that over 200 million people stream Netflix worldwide, but many miss out on the joy of watching together? If you've been wondering how to watch Netflix with...

Easy Steps on How to Reset Chromecast: A Compre...
In our digitally connected world, streaming devices like Chromecast have become household staples, transforming our entertainment experiences. However, like any technology, Chromecast sometimes encounters glitches that can hinder its performance....

How to Stream Netflix? The Ultimate Guide to Se...
In today's digital landscape, Netflix stands as a global entertainment giant, celebrated for its vast array of captivating content. How to stream on Netflix to achieve optimal streaming quality becomes pivotal...
How to Stream Netflix? The Ultimate Guide to Se...
In today's digital landscape, Netflix stands as a global entertainment giant, celebrated for its vast array of captivating content. How to stream on Netflix to achieve optimal streaming quality becomes pivotal...