Projectors have become indispensable tools for presentations, entertainment, and immersive experiences. But what do you do when you set up your projector, and to your dismay, the projector is upside down? It's a common hiccup that can leave you scratching your head.
In this comprehensive guide, we'll unravel the mysteries of the upside down projector, exploring the reasons behind this perplexing issue and providing step-by-step solutions. Whether you're a professional presenter, a movie enthusiast, or simply someone trying to fix this dilemma, we've got you covered. Let's dive into the world of inverted projections and learn how to flip projector images.

Why Is My Projector Upside Down?
When you encounter a projector picture upsidedown, it's crucial to pinpoint the underlying causes. Let's meticulously dissect each possible reason for this perplexing issue.
1. Wrong Projector Orientation
One of the most common reasons for an inverted projection is an incorrect projector orientation. If your projector isn't set up in the right position relative to the screen, you're likely to see upside down images.
2. Loose Projector Len
Another potential culprit is a loose projector lens that isn't properly aligned within the projector housing. This misalignment can lead to the image being displayed upside down.
3. Power Supply Issues
An issue with the power supply to the projector can also be a reason for an inverted projection. If the power supply is unreliable, it can disrupt the projector's normal operation.
4. Ambient Light Disturbance
The role of ambient light should not be underestimated. An often-overlooked reason for a projector upside down is the interference of light. If the projector is affected by ambient light from behind or around the projection surface, it can lead to the image being displayed in an inverted manner.
How to Fix an Upside Down Projector Screen?
Now that we've uncovered the root causes of an inverted projector screen, don't fret. This issue is quite common and, more importantly, it's manageable. Let's delve into a comprehensive guide on how to flip screens upside down.
1. Adjust the Position of the Projector
The simplest solution is often the most effective. Make sure your projector is correctly oriented or positioned. If it isn't, slightly loosen the screws on the tripod or pedestal, reposition the projector so that it is perpendicular to the screen, and then tighten the screws. Ensuring the right alignment is fundamental for correcting the orientation.
2. Flip the Image Upright
If your projector screen is inverted, it means the image is displayed upside down. To correct this, you'll need to flip the screen around, ensuring the image is correctly oriented. Most projectors come equipped with a feature that allows you to do this. You can access the projector's menu, navigate to the advanced display settings, and choose the "flip" or "reverse" option. This will invert the downward projector image, restoring it to the correct orientation.
3. Keystone Correction
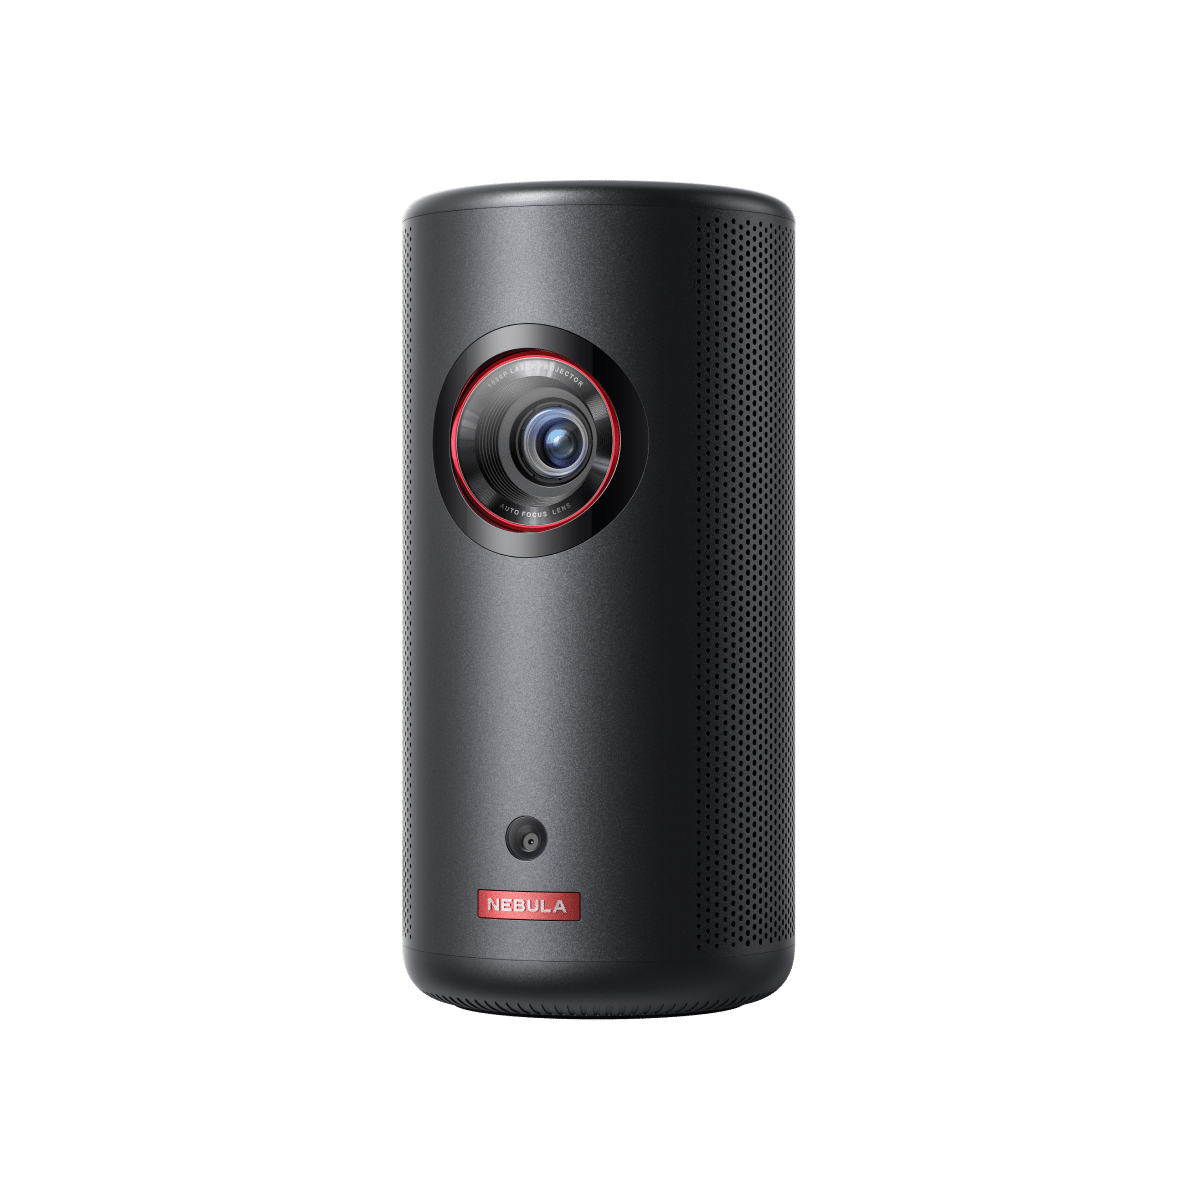
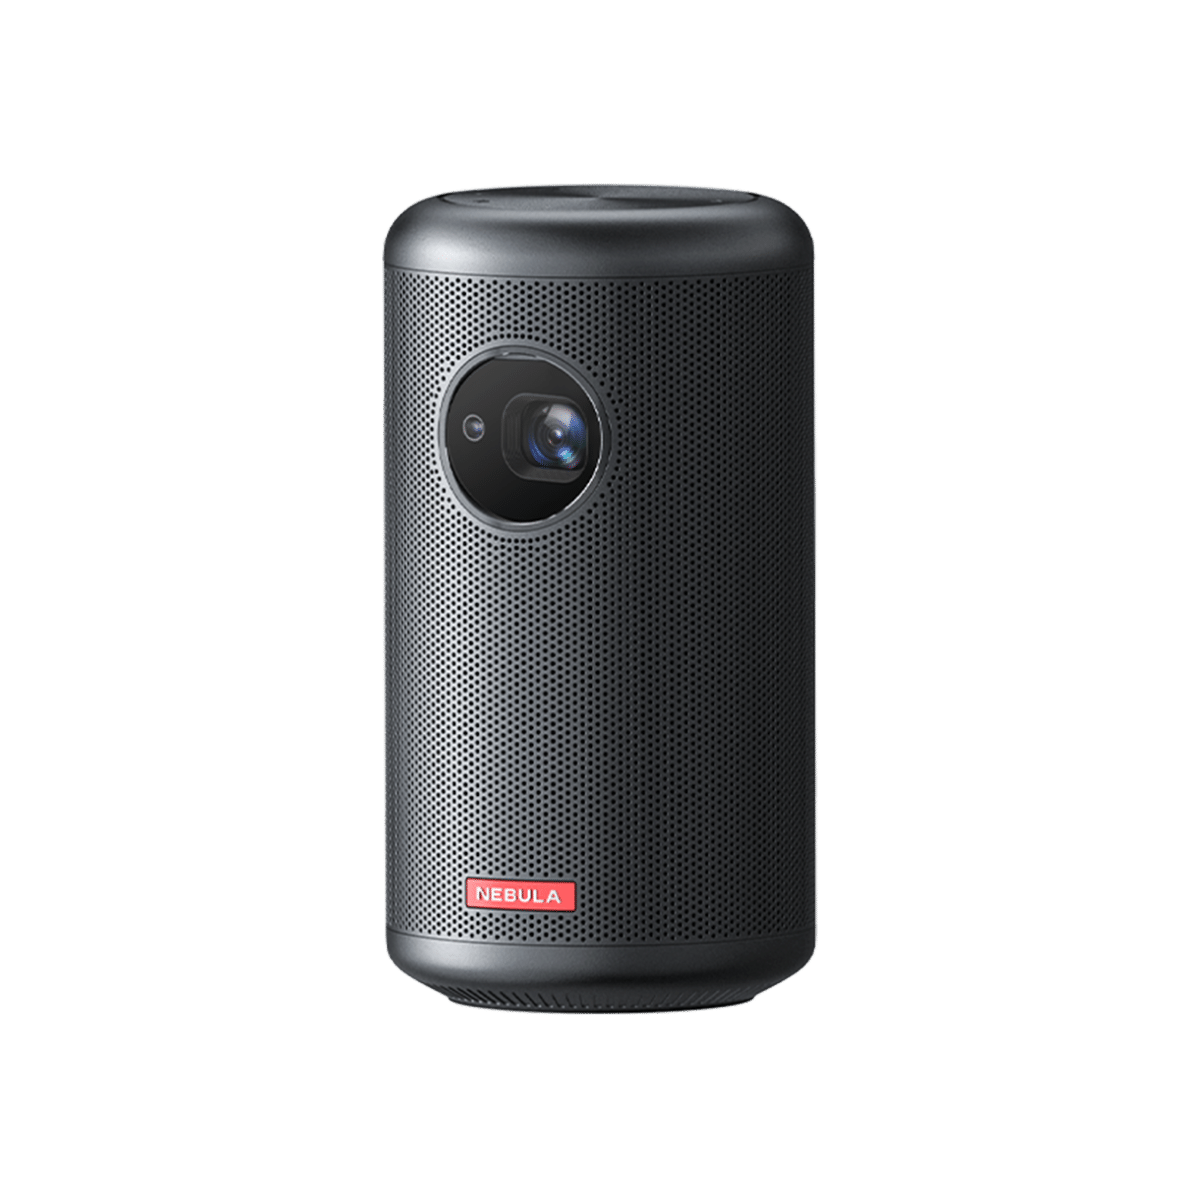
Another valuable tool for correcting an inverted projector screen is the keystone correction feature allowing for fine-tuning the image to match the desired orientation. However, it's important to ensure you're using a projector equipped with this feature. For example, the Nebula Capsule Max Keystone Correction projector supports auto and manual vertical, horizontal, and quadrilateral keystone correction, so you can access the projector's settings and turn on Auto Keystone Correction to enable this feature and enjoy a correct alignment.

4. Use the "Orientation" Option
Most projectors have some kind of options similar to Orientation which is specifically designed to address image orientation issues. Select the corresponding option, and you can choose between Landscape or Portrait, depending on your requirements. For Nebula projectors, check the Projector Mode for different placements. Once you've made the appropriate selection, press enter to apply the changes.
5. Check and Adjust the Power Supply and Lighting Conditions
Thoroughly inspect the power supply cable for continuity, and repair or replace any damaged or broken wires as needed. Ensuring a stable power supply is crucial for maintaining the correct projection orientation. Additionally, consider the lighting environment and adjust the lighting conditions, potentially by turning off lights or relocating the projector to a spot where ambient light won't interfere.
6. External Image Editing
If your projector doesn't offer built-in options for adjusting the orientation, you can still rectify the issue using external image editing. Connect your laptop or source device to the projector. On your source device, navigate to display settings and adjust the screen orientation to match the inverted projection. This method ensures the image sent to the projector is correctly oriented, regardless of the projector's settings.
How to Rotate Projector Screens
Now let's explore specifically how to efficiently rotate your projector screen. We'll guide you through the process, step by step, to ensure your projected content is correctly oriented.
- Ensure Proper Projector Placement
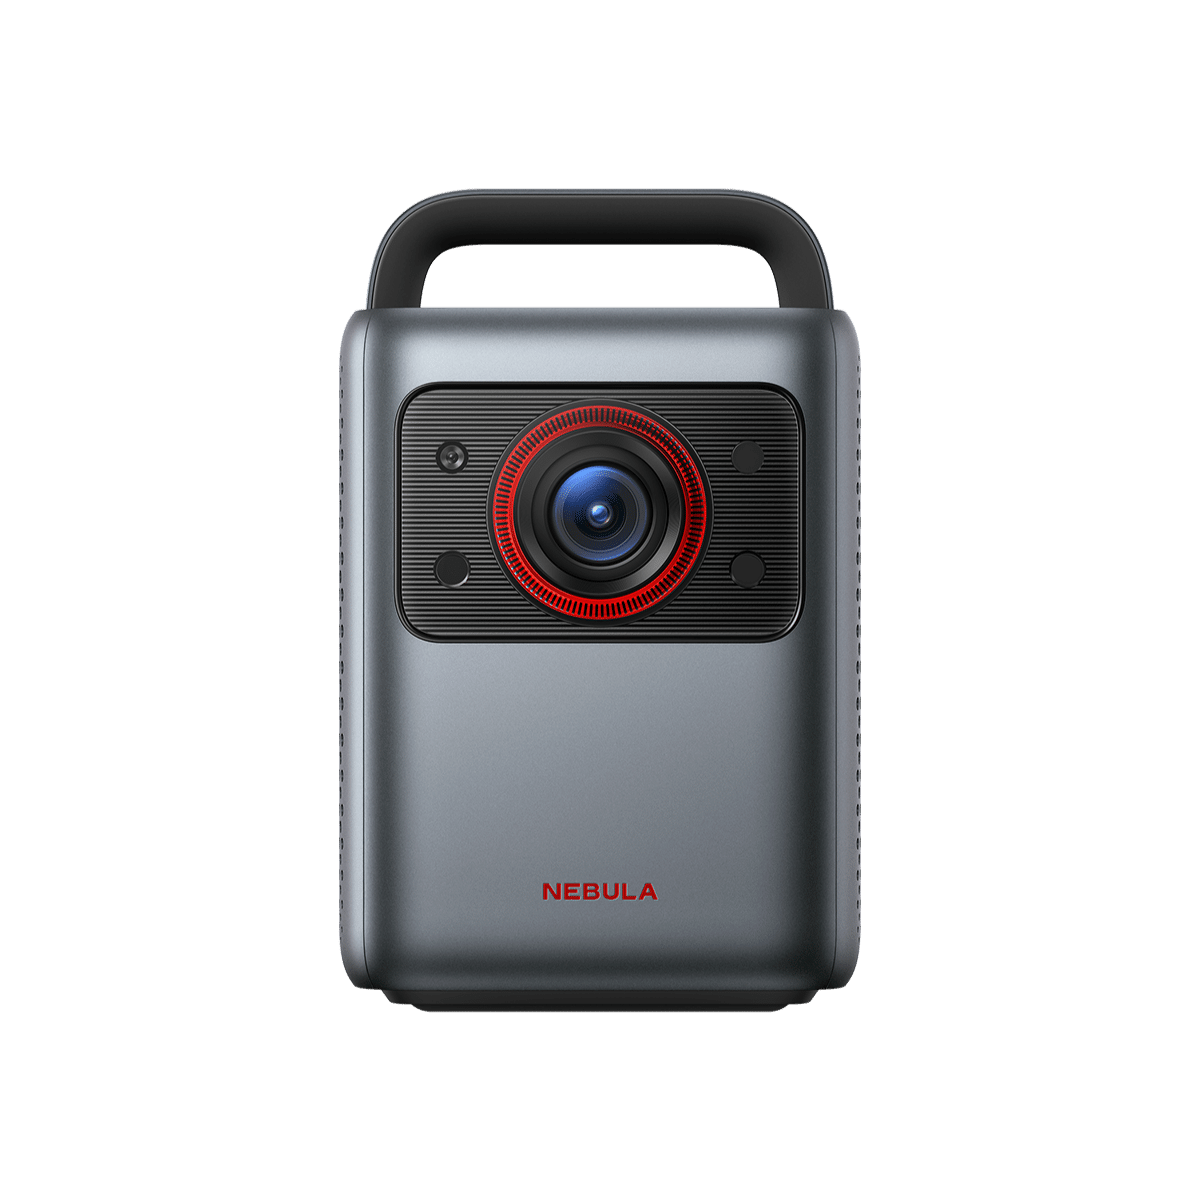
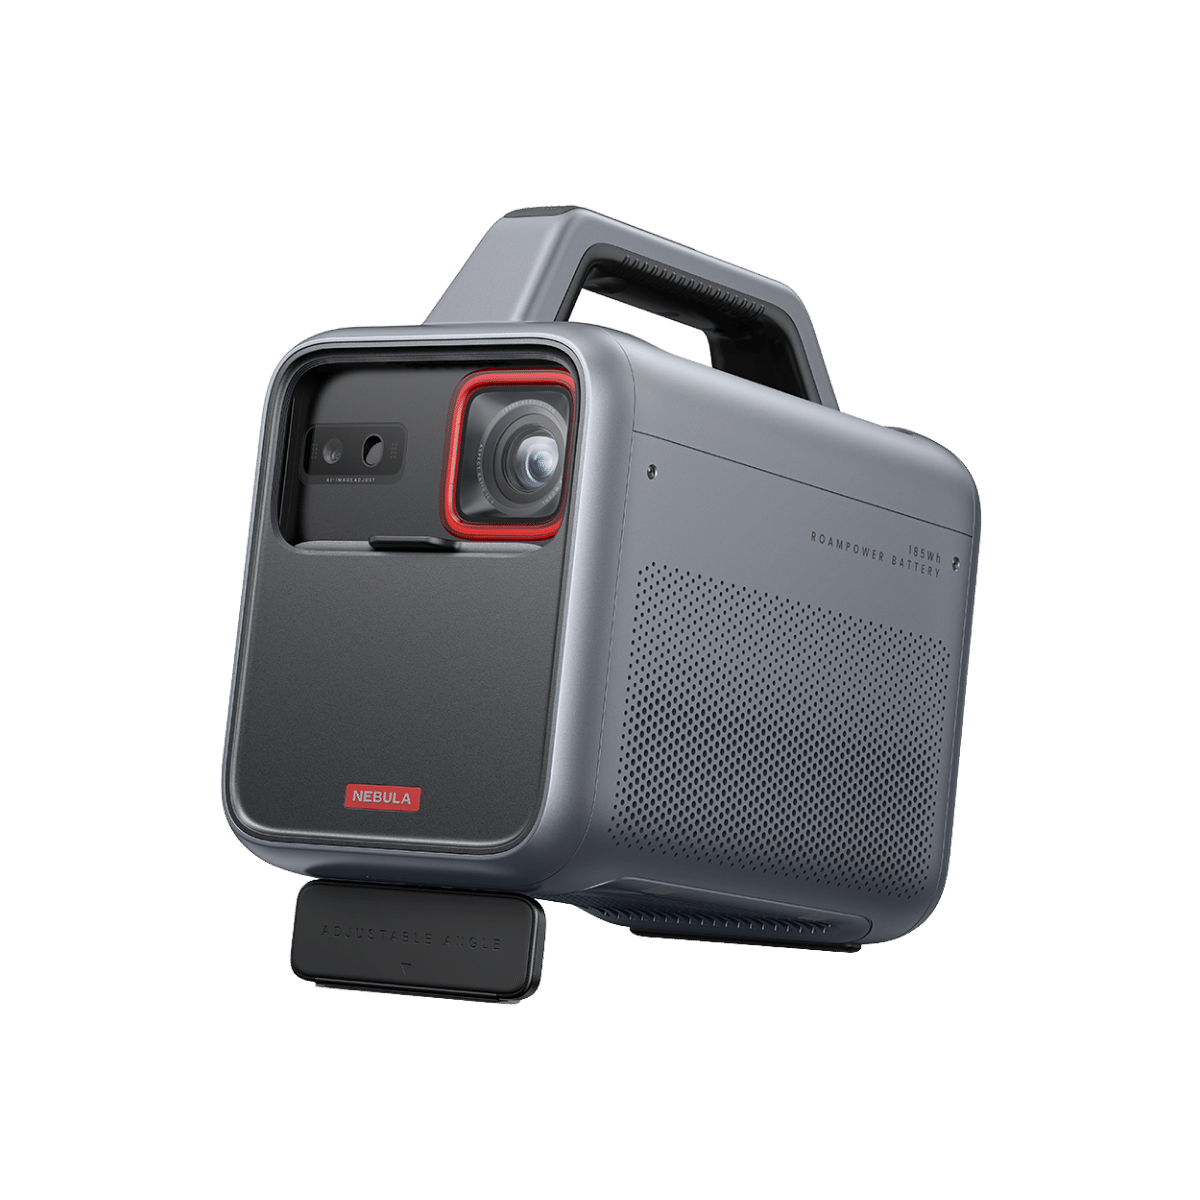
Start by ensuring your projector is appropriately positioned. It should be aligned with your screen or projection surface. For Nebula projectors like our Mars 3, you can choose Auto projector mode to automatically detect whether the projector is inverted and automatically switch to an appropriate projector mode.

- Access the Projector Menu
To commence the image rotation process, locate the menu button on your projector. This button may be labeled "Menu" or feature an icon resembling a menu. After identifying it, press the menu button to access the projector's settings.
- Navigate to the "Display" Tab
Within the projector's menu, use the arrow keys to navigate to the "Display" tab or a similar option that pertains to display settings. This is the section where you'll find the tools needed for image rotation.
- Locate the "Orientation" Option
Once in the "Display" tab, search for the "Orientation" option, which is designed to enable image rotation, allowing you to position the content as desired.
- Select "Landscape" or "Portrait"
Using the arrow keys, select between "Landscape" or "Portrait," depending on the orientation required. This selection determines how your content will be projected.
- Apply the Changes
After choosing the appropriate orientation, press the "Enter" or "OK" button to apply the changes. Your projector will now adjust the image to match the selected orientation.
Conclusion
Now, you should know the causes behind why your projector is upside down. By following our step-by-step solutions, you can quickly rectify the projector screen upside down and enjoy uninterrupted presentations, movies, or any content you wish to project. Whether it's a matter of adjusting your projector's position or configuring settings in the menu, this guide has demystified the process for you. So say goodbye to the headache of an inverted display and say hello to seamless, upright projection.
FAQ
How do I change projection orientation?
- Most Nebula projectors: Use manual or auto Keystone Correction, Auto Screen Fit, and various projector modes to change the projection orientation.
- Others: Access your projector's menu, navigate to the "Display" or similar tab, locate the "Orientation" setting, and choose "Landscape" for a horizontal display or "Portrait" for a vertical display. Apply the changes, and your projector will adjust the image accordingly.
Can I change the screen orientation without a remote?
Yes, you can change the screen orientation without a remote on many projectors. Most projectors offer on-device controls and menu options or even apps to adjust screen orientation. Simply access the projector's menu and navigate to the display or orientation settings to make the necessary adjustments.
Can you rotate a projector?
Yes, projectors can typically be rotated to change the projection orientation. This is often done through the projector's menu or settings, allowing you to select between landscape and portrait orientations as needed for your specific projection setup.


