How to select

Optical Zoom vs Digital Zoom: What’s Better for...
Ever tried zooming in on a projected image only to notice a drop in quality? That’s where the difference between optical zoom vs digital zoom comes into play. When setting...
Optical Zoom vs Digital Zoom: What’s Better for...
Ever tried zooming in on a projected image only to notice a drop in quality? That’s where the difference between optical zoom vs digital zoom comes into play. When setting...
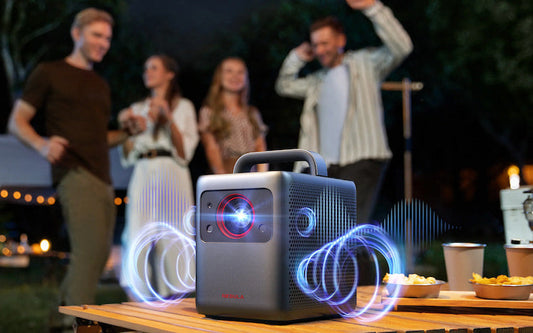
Dolby Audio vs Dolby Atmos: Which Sound Should ...
Have you ever wondered why some movies or games sound incredibly immersive while others just feel flat? That’s where Dolby Audio and Dolby Atmos come in. You’ve probably seen these...
Dolby Audio vs Dolby Atmos: Which Sound Should ...
Have you ever wondered why some movies or games sound incredibly immersive while others just feel flat? That’s where Dolby Audio and Dolby Atmos come in. You’ve probably seen these...
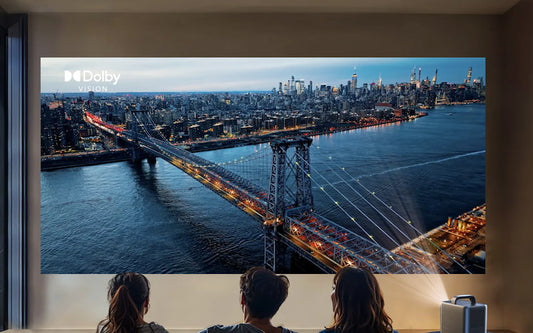
Dolby Vision vs Dolby Atmos: Which One Do You N...
Shopping for a projector or looking to upgrade your home theater setup? You’ve probably come across the technologies of Dolby Vision and Dolby Atmos. These cutting-edge advancements enhance visual and...
Dolby Vision vs Dolby Atmos: Which One Do You N...
Shopping for a projector or looking to upgrade your home theater setup? You’ve probably come across the technologies of Dolby Vision and Dolby Atmos. These cutting-edge advancements enhance visual and...

Top Projector App in 2025: Stream and Cast Easi...
Want to watch your favorite movie on a big screen without the hassle of wires and complicated setups? Or maybe you need to mirror your phone for a presentation at...
Top Projector App in 2025: Stream and Cast Easi...
Want to watch your favorite movie on a big screen without the hassle of wires and complicated setups? Or maybe you need to mirror your phone for a presentation at...

How Many Lumens for Outdoor Projector: Complete...
When choosing an outdoor projector, one of the most critical factors to consider is brightness, measured in lumens. The number of lumens determines how clearly an image will appear, especially...
How Many Lumens for Outdoor Projector: Complete...
When choosing an outdoor projector, one of the most critical factors to consider is brightness, measured in lumens. The number of lumens determines how clearly an image will appear, especially...

4K vs 1080p: Which One Is Right for You?
Trying to decide between 4K and 1080p? It’s a common dilemma as more people upgrade their tech and look for better viewing experiences. Both options offer great picture quality, but...
4K vs 1080p: Which One Is Right for You?
Trying to decide between 4K and 1080p? It’s a common dilemma as more people upgrade their tech and look for better viewing experiences. Both options offer great picture quality, but...